This Blog has been updated from it original posting to reflect new information and changes in technology regarding how to soundproof a bedroom. Updated on 11/26/19.
How to soundproof a bedroom? That’s not an easy question to answer. A bedroom is surrounded by other rooms in most cases. All that separates a bedroom from the other rooms is an interior wall that is usually made from 2″ x 4″ or 2″ x 6″ wood frame interior walls. Wood-framed, interior walls that are and were never designed for any type of real noise control. It is usually easy to hear through a bedroom wall.
Must Address Usage
What will we be doing in our bedroom that we need to isolate sound from getting in or out of? Are we going to convert it into a project studio to do what? Are we going to record vocals, maybe instruments? Where is the bedroom located within the house? Is it located next to other bedrooms or areas of necessary quiet or is it located next to a higher noise-producing area? All of these questions will have to be answered. Let’s start with the least noise-producing first.
Structure First
We must remember that noise can not be solved or treated with acoustic panels for bedrooms. Acoustic panels for bedrooms are designed to absorb energy within the room. No panel of any type will stop noise transmission through the walls. Sound is like water, it will find the weakest link in the structure and go through that. The weakest link in any room for noise transmission is the wall itself. To soundproof a bedroom, we must focus on the walls themselves. There is no such thing as acoustic panels for bedrooms.
Low-Frequency Barrier
We have covered soundproofing a bedroom in the following blog as well: https://acousticfields.com/soundproofing-a-bedroom/
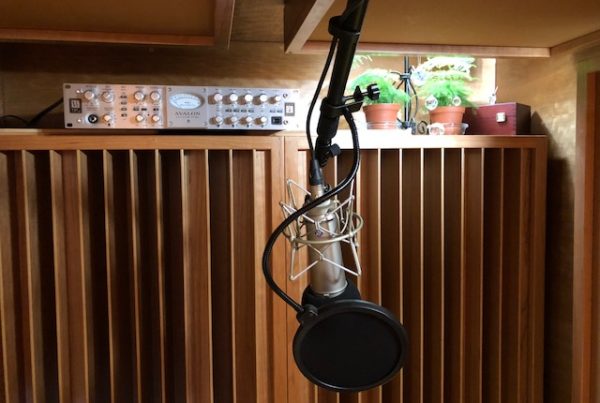
Small Project Studio
If the bedroom is located away from the rest of the house or apartment and there will be no noise-producing sources in joining rooms, we can focus on the main use of the bedroom conversion. If we are playing back and monitoring a recording through monitors, then we need to begin by addressing the noise source within the bedroom itself. We do not want to disturb other members of the household.
Must Deal With Low Frequency
Let’s start by treating the room with the necessary low-frequency control technologies to minimize the impact of our lower frequencies from the monitors. This will require additional low-frequency absorbers that are tuned specifically to the low frequencies generated by the monitors in our small bedroom. We will need the floor to ceiling absorbers in every corner and along all four room sides. We actually could not have too much low energy absorption in a small room. The smaller our room, the more low-frequency issues we have and the need to make it smaller by adding low-frequency absorption.
Reflections Must Be Minimized
Room wall and ceiling reflections in small rooms destroy our stereo image and mess with the wanted direct sound from our monitors. Acoustic foam will work well on the side and front walls directly behind our monitors. Make sure you choose an acoustic foam that has the necessary rates and levels of absorption to handle the vocal and mid-range presentation in your bedroom. Not all acoustic foams are created equal and one needs to be aware of their sonic impact especially in small room environments.
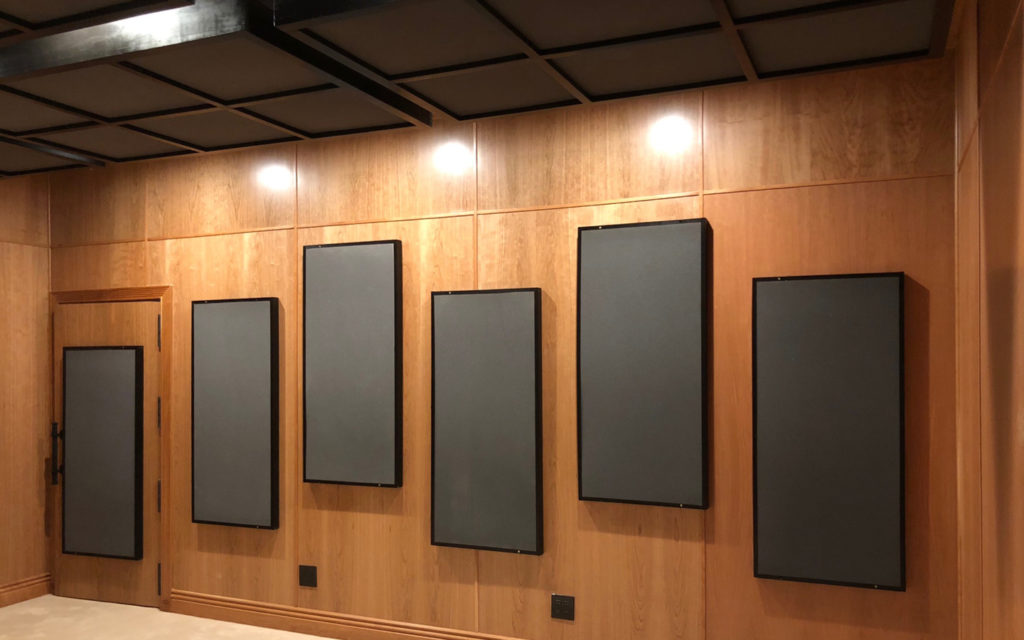
Wall Hanging Acoustic Foam Panels
Pay Strict Attention To Rear Wall
The rear wall is of special concern. A small room has many acoustical issues because of its size and one must address these issues at the start. The reflection from the rear wall at the monitoring position is a time-delayed one and can really have an impact on your mix. It must be dealt with by using diffusion. In particular quadratic diffusion will reduce the reflection from the rear wall and spread it out in a series of smaller “reflections”.
Use Both Vertical And Horizontal Diffusers
Try to use the highest prime number for your sequence as you have room for and make sure to position your diffusers both vertically and horizontally to afford two dimensions of sound diffusion. Small bedrooms need all the diffusion they can get especially from the rear wall at the mix position. position vertical diffusers across the total width of the rear wall and then place horizontal diffusers across the top of the vertical ones you just positioned.
Still Not Enough ?
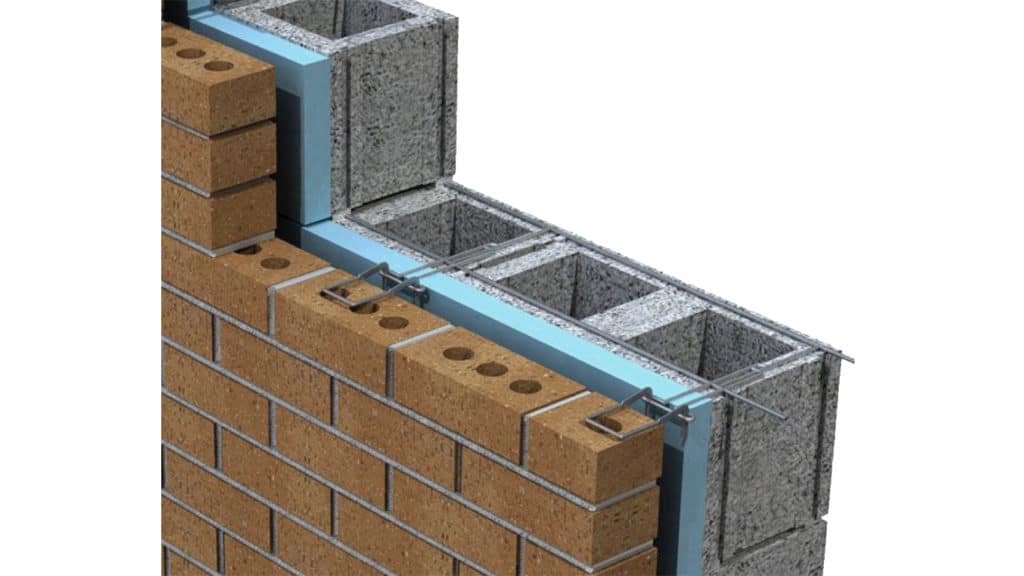
First, address the noise issues within the structure. Then and only then manage the low-frequency issues in your new bedroom studio. Proceed after all of those issues have been resolved to diffusion. One of the ways to have both barrier or noise technology and sound absorption is to build it into your walls. You can do this by using our CAW or Carbon Absorbing Wall. You build in the noise and low-frequency absorption into your walls.
CAW: https://acousticfields.com/carbon-absorber-wall/
Acoustic Fields Carbon Absorption Wall Technology
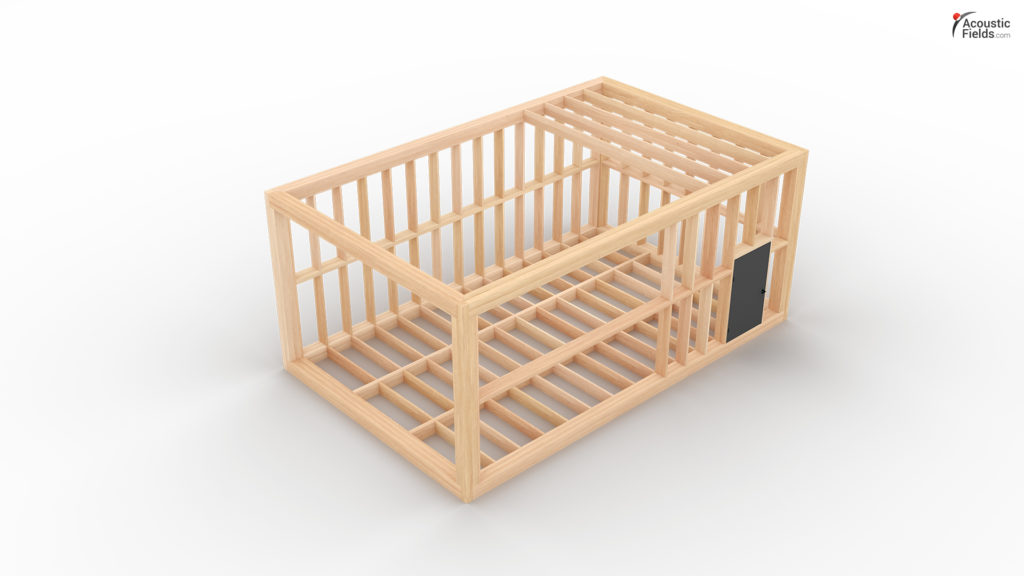
Build Your Footprint
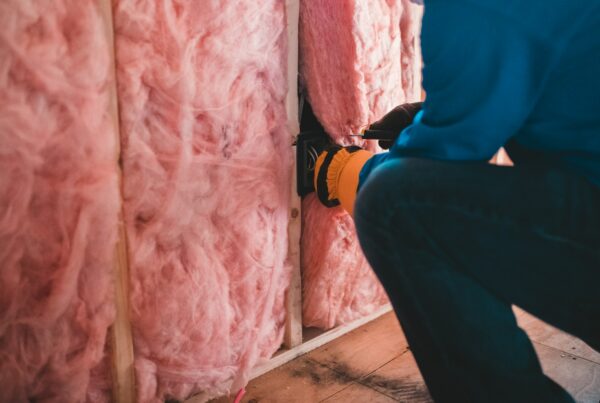
We start by laying a 2″ x 4″ across the floor bordering all around the room. Make sure our border is 6″ away from the existing wall. This is the new footprint of your room. Complete the floor assembly with 16″ on-center studs. Fill the interior space between the studs with mineral wool insulation. Do not use fiberglass. Mineral wool is denser and will assist us in our sound isolation efforts better.
CAW Link: https://acousticfields.com/carbon-absorber-wall/
Isolate Floor Assembly
Raise the floor assembly up and place it on rubber isolators. Many companies make these and follow their recommendations for how far apart on the center they should be placed. Now, our floor is isolated mechanically from the rest of our bedroom. Build the walls with 16″ on center studs upon our isolated floor assembly. Fill with mineral wool as the floor assembly. To cover the studs on the floor, one must use a floor covering materials. Consult your local building codes One can use drywall for the walls or a commercial-grade multiple density fiberboard which will give you more density and a much smoother surface free from drywall flakes and chips.
Noise Transmission: https://en.wikipedia.org/wiki/Acoustic_transmission
Ceiling Assembly More Difficult
The ceiling assembly will be more difficult and depending upon the width and length of your bedroom, you may need a rafter type assembly approach. If you do not have the skill set for this, hire a professional. You don’t want the ceiling to come crashing down on your board or monitors, not to mention your head. barrier or noise reduction technology requires mass which in turn requires weight, You must make sure the existing structure can support the additional weight requirements.
Must Have Game Plan
How to soundproof a bedroom is not an easy question to answer. The answer depends on what usage, the location of the bedroom to the rest of the house or apartment and what recording or playback processes are involved. Start by treating the inside of the room with low, middle, and high-frequency absorption technologies. If that is not enough, you must go to building barrier technologies to isolate the sound energy produced in the bedroom from the rest of the house. If barrier technology does not work, you must move.
Thanks for reading, and I hoped this help you acoustical issues in some way. If you have any questions on how to soundproof a bedroom please feel free to email me info@acousticfields.com and I will be happy to help.