
Today we’re going to finally assemble our DIY Bass Absorber BDA kit. This is our low frequency absorber kit. The only difference between this and our production units is that the production units have the carbon filters inside them. Now a lot of people call DIY bass absorbers DIY bass traps. I don’t subscribe to that vernacular because bass isn’t trapped by anything and I think its misleading to think in those terms. So absorption and management are the terms we like to use.
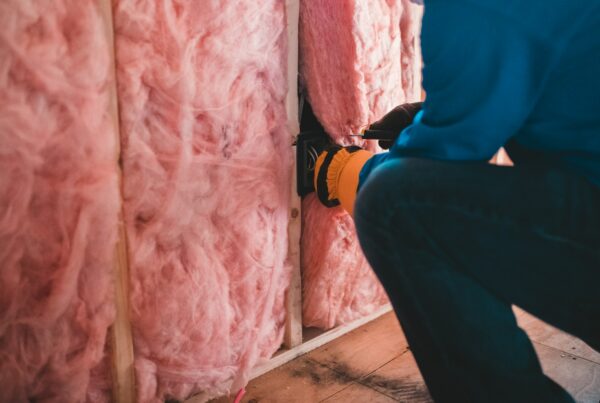
So in the below video we’re going to show you how you can use our foam inside of the bass absorber instead of the mineral wool products that we’ve been specifying. We’ve done some calculations and found that the foam will work well as an absorption spunge when coupled with the diaphragmatic absorption process. Plus you don’t then face the hassle of buying building insulation in bulk, which is expensive, and only using a little part of it for this product. This DIY bass absorber absorbs from 30 Hz. to 400 Hz. without the foam face and from 30 Hz. all the way to 6,500 Hz. with the foam face.
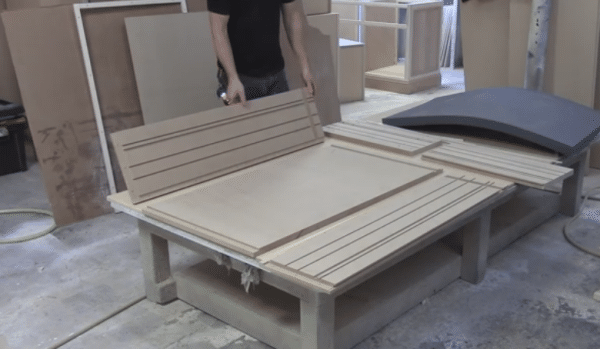
Watch the video as you read this text as it will help. So if you look in the back starting left to right we have our frame. Next to the frame is the peg board, that’s going to hold our foam and/or our building insulation and then there’s the front and the two double walls.
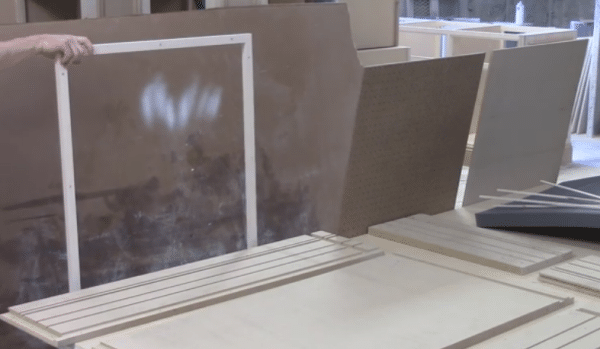
Here’s an image of the front piece. As you can see we’ve dadoed all that out for you, the edges are all aligned, they’ll butt up against each other and interlock, really nice work, the dadoes are all set. Thank God you guys don’t have to dado as Carl’s done them all for you which is a big job out the way!
Carl’s going to show you how to slide the particular pieces in as we progress through the build. Our first step is with the back piece. One guy can do this build but obviously get a buddy to help you, it’s the easiest way. These pieces are heavy, this is one inch MDF, a four by eight sheet of one inch MDF weighs around a hundred and forty pounds. So we’ve cut it up, probably used, I don’t know, 60, 70% of it so you know, we’re at a hundred pounds already with just materials and we’ll show you the interlock.
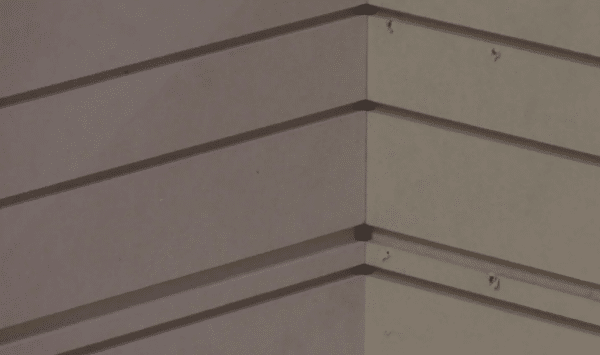
You’ve got to put a couple screws in the bottom of it to hold it all together. This one, you’re going to have to screw together, glue and screw is probably better for the purpose of this demonstration. We’re just going to dry fit it with a couple of screws in each end just to hold it in place. See how the dadoes line up real nice? Nice. That’s no easy stunt. Everything interlocks real nice.
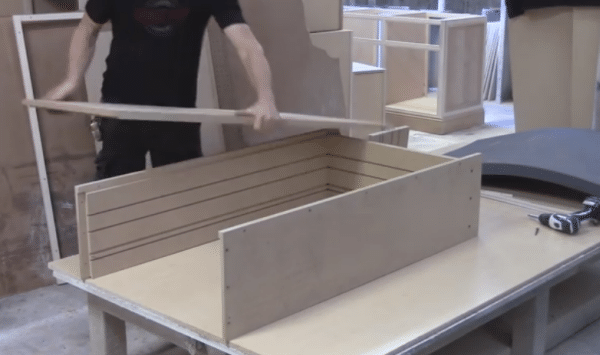

See how everything fits good. Nice and tight, you can put some bead and cock of ceilent across each one of those joints, always a good idea, obviously keep it out of your dadoes, you don’t need any in there. You’ll notice the routed edge in the sides, we’re going to talk about that later, that’s part of our frame assembly.
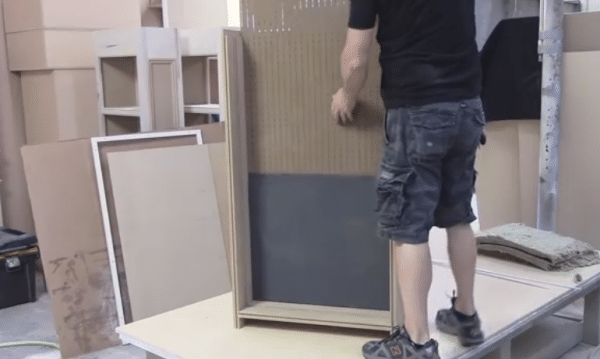
Now we’re putting in the peg board because we know from the drawings that this is where our thermafiber slides down through the dadoes, look at that, how clean is that?
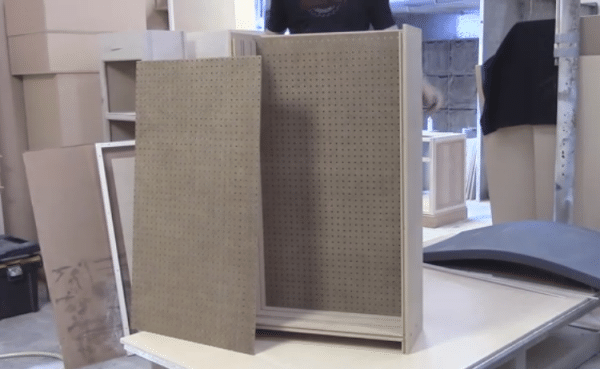
Next you’ll go ahead and take a piece of foam and then lay it, this is a new procedure we’re going to start using instead of the thermofiber and that nasty stuff working with those fibers. We’ll have foam that we’ll pre-cut, it’ll fit right in for you. Then you’ll slide the peg board in there and look at how clean this is, this is an easy build guys, easy assemble. Carl’s done all the hard work for you.
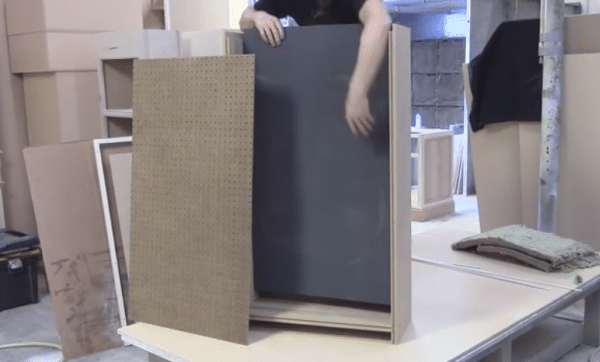
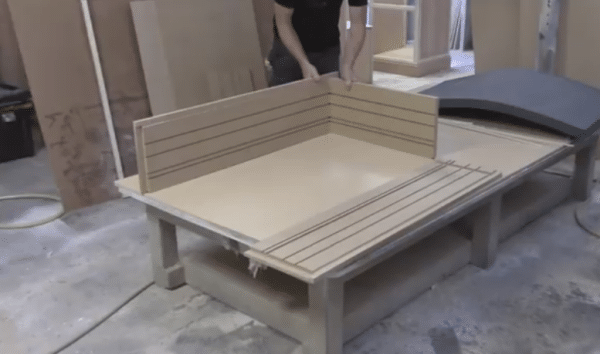
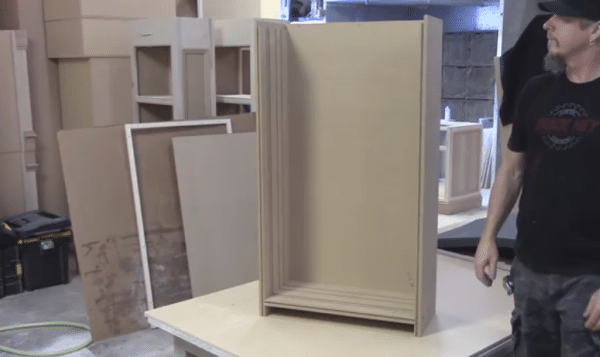
Now, you use the same approach to put the front two walls in there. This technology is our double wall technology that we use in our production units. The thicknesses are a little bit different because in our production units, we have carbon, here we don’t, we have less density here, so little bit different structure for the front wall and that slides in the same way through the dadoes.
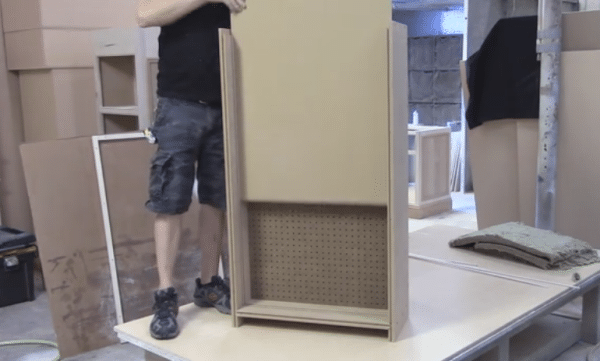
Once again, you could do some acoustical sealant on all your 90-degree intersections even on the front walls. Now we’ll show you that there’s another piece that goes on the front and this is designed to accommodate that. It’ll fit right in the space there that’s provided.
Now, he’s going to put the top on. See how everything interlocks? That’s the nice part of these designs, everything’s pre-cut to fit.
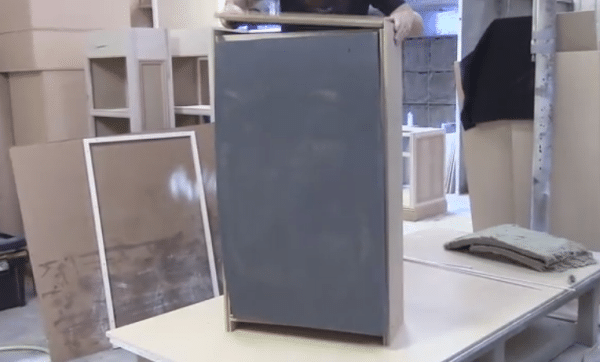
Now add some screws in the side to tie it all together. Then we get to the fun part which is putting on the fabric and it’s not that difficult. So we’re going to walk you through the steps to do it.
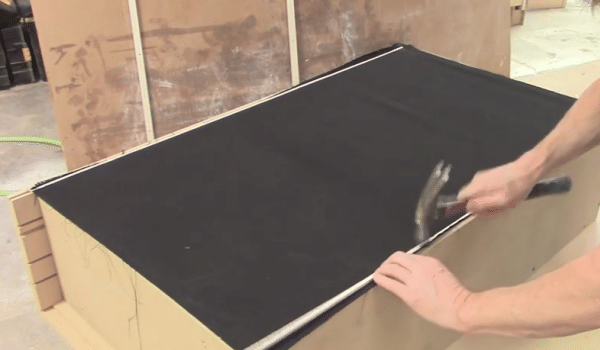
You noticed that the edges are grooved already to accept the fabric slots and pieces of wood that we include with the kits. We’ll show you a really good technique for putting the fabric on. We’ve tested this for ten years and it always keeps the fabric tight so its easy to replace if you damage it.
You see Carl’s pulling the fabric over the edge. There’s going to be a little piece of wood that fits in there but right now he’s going to put the fabric over that, and then we’re going to align the rest of it up. Start with the long edge first, that’s usually the easiest, that’s the edge we’ll secure first and we’ll show you the procedure.
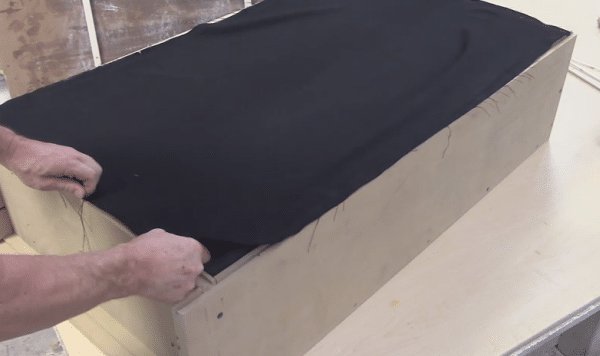
Now you will use a little bit of bigger piece if you buy the kit as we already pre-cut the piece shown in the video. Next you’ll lay the wooden strips in the hole and line them in and just tap them in all the way down. Fits right in with the fabric. We’re just going to pressure fit this, we won’t staple through them for this demo but it’s a good idea to run the stapler through them with a finished unit.
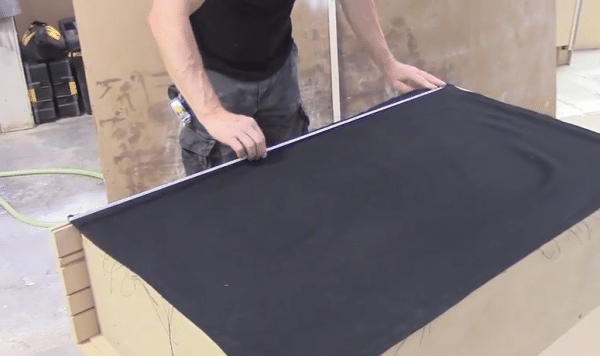
Now you see he’s secured the one side, now we’re going back up and he’s going to go to the other long side, you’re going to pull that tight. This is a little kind of tricky so take your time and make sure its pulled in tight. You want to just get as much as the horizontal tension as you can crossed.
Then he’s going to pull and put the top in and he’ll pull that direction from the top and he’ll get a little snugness. So it’s really a two man job, you get somebody to help you pull it but this was pre-cut so we’re good to go. And then we’re getting to the final part which is the pretty part and that’s the frame and we’re just going to lay that on so you get an idea of what it looks like.
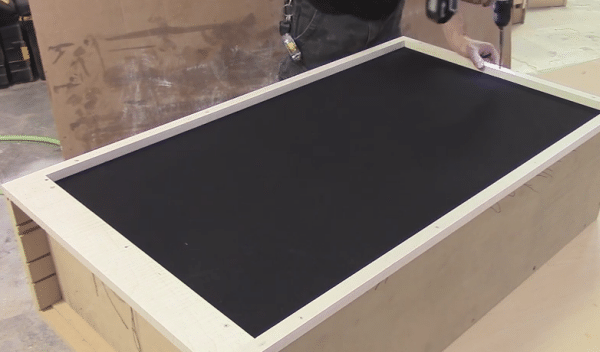
There it goes, already pre-cut and ready to fit some screws in it and we’re good to go. There’s your unit, now it’s not finished, it’s a kit so you can finish it anyway you want to. You can skin it with veneer if you want your, hard woods whatever you want to do, you know. We just want to get you the basic package. You can pretty it up on your own and make it the way you want to match any of your decor.
So this gets you all the technology in all the pieces and all you have to do is glue and screw it together. Now the thermofiber fill material that you could tuck in to the inside is OK but I think our foam will replace that. The densities are the same so it’s good that we’re getting something that’s more friendly and easier to work with.
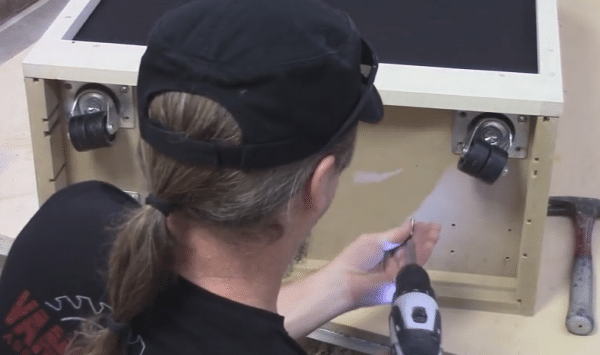
Here’s a great feature we use to come up with, these are casters. So you don’t have to rip this thing and move it around all the time and we’ve already got the holes and everything pretty detailed for you so your positions are all marked in.
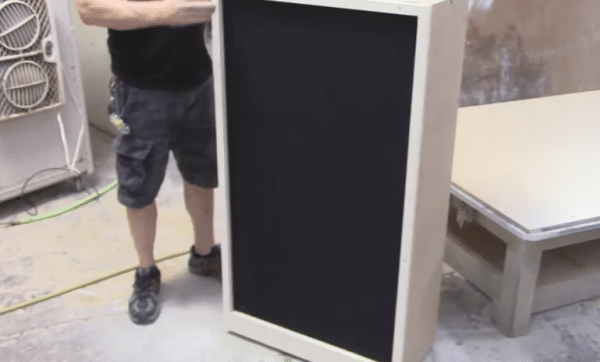
It takes two of us to stand the unit up. I think its good to show everyone that it’s not light, it’s heavy and it’s good to have a couple guys to do it.
All right, there you go. Its got special kind of double wheel casters so it moves real good, easily spins around, sure makes it a lot easier on everybody. There’s your unit.
All right, that’s the BDA kit, all pieces are included and we’ll even have the foam for the front face and the internal parts for you too. This will be on sale shortly. Email me at info@acousticfields.com or call me on 520–392–9486 for an early bird discount option.


Hi,am dablizz from Nigeria, after building the BDA kit how do I place them….
2)how many of these will I need in a medium sized room…tnx 4 all the knowledge..
D, Start with the front wall. The area between the speakers and front wall.
Hi Dennis,
In my country I can not get the PEGboard, how can I replace it? MDF?
regards
C, Yes but you must drill the holes yourself. They are 25 mm on center with 6 mm hole diameter. You are building a perforated absorber. Thus the need for “perforations”.