Today we’re going to talk about room response curves. I get a lot of people sending me their room response curves that they measure which is really nice but we already have that work done for you in our database.
Remember, we have a database now of over a 130 rooms that we built and measured so we have all that data in there. So if your room is a particular size and volume we have your room response curve in our database. So if you want to do it as an exercise, that’s fine but just remember, it’s really not necessary.
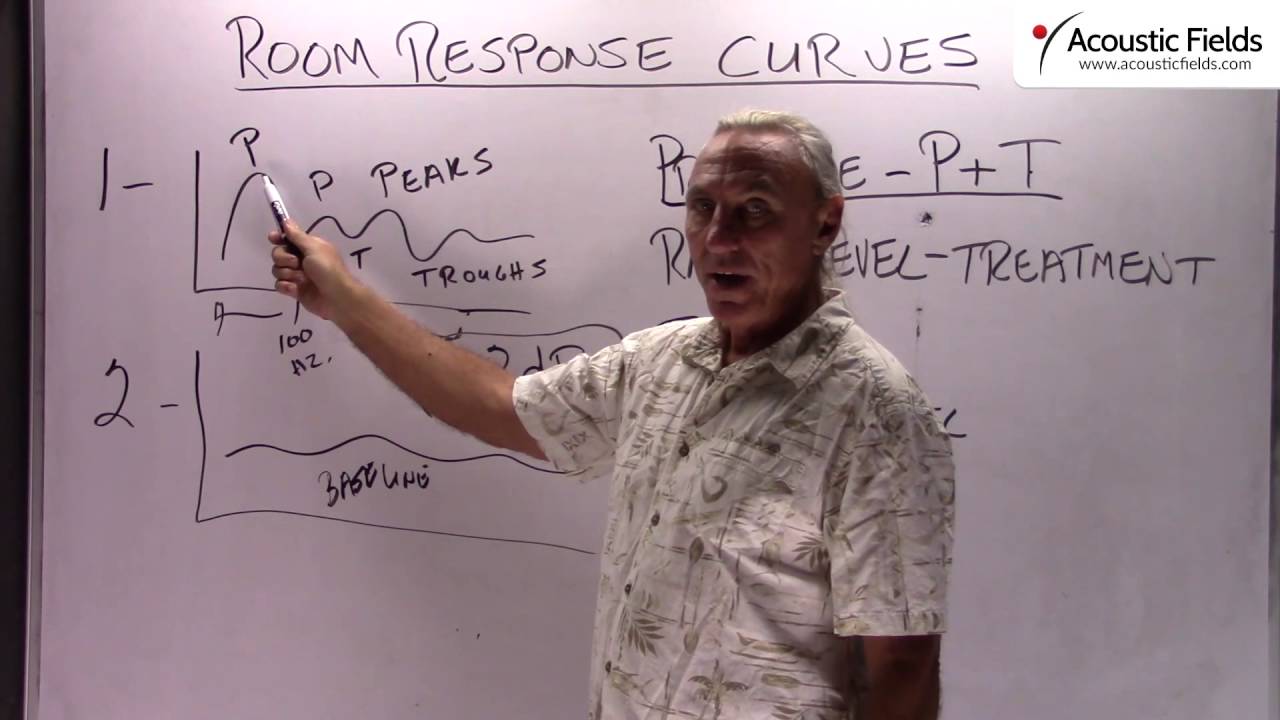
Most response curves looks like this. It looks like a snake. You’ve got a big hump here in the low end, let’s call this a 100 cycles here. So everything below a 100 we have a big hump and then we have a lot of sways and the peaks through the mid-range. So these are called peaks. These are called troughs. So let’s get our terminology right in the beginning.
All the peaks and all the troughs – here is ideal obviously, we want to get it + or – 2 dB over what we call a baseline measurement, okay? It’s really just a standard. So because + or – 2 dB can handle with EQ. So that’s what our goal is when we do rooms. Our Sacred Ground Studio here in LA is, I’m very proud of, + or – 1 dB.
So anyway, the bottom line here is how do we get all of this to look like this? All right, well, we have to first realize that the peaks and troughs are all pressure related. This is energy, that won’t fit in your room because of size and volume. This is energy that won’t fit. This is energy that won’t fit. This is energy that maybe is fitting too much. This is energy that maybe is fitting too much. It’s all about pressure and energy.
So we have to first look at the severity, how big of a peak do we have? And then we have to assign the correct technology to deal with that. So you have to really break your room response curve up. I break it up into 4 areas. And I apply the treatment that those 4 areas in the response curve need. The low end obviously is not going to be foam. Please don’t use foam to absorb base. It won’t work. Oh, I’m so tired of saying that but please don’t use it, it doesn’t work.
We have to use a proper technology. Let’s say this peak over here is + 10 dB over what we really want as a baseline. We’re not going to use foam because that’s not going to work. So then our only other two choices for low frequency absorption are diaphragmatic and membrane. Membrane is the cousin of diaphragmatic.
So for a + 10 dB bump we’ve got to use diaphragmatic because it has the horse power and the strength to treat that kind of peak. So we have to use diaphragmatic in that situation. Maybe in these lower situations here we can use membrane. Lighter weight, easier to build etc. So you have to apply the right technology to the response curve. But realize that this is all pressure that doesn’t fit.
Then when we get up into the upper frequencies then we can talk a little bit more about using diffusion and stuff like that to have an impact on it. But for right now let’s just stay focused on our peaks and troughs which are pressure related.
So divide the response curve up into the 4 part, assign the proper rate and level of treatment. Then you have to decide where to put it in the room and all that. That’s topics for a whole new video.


