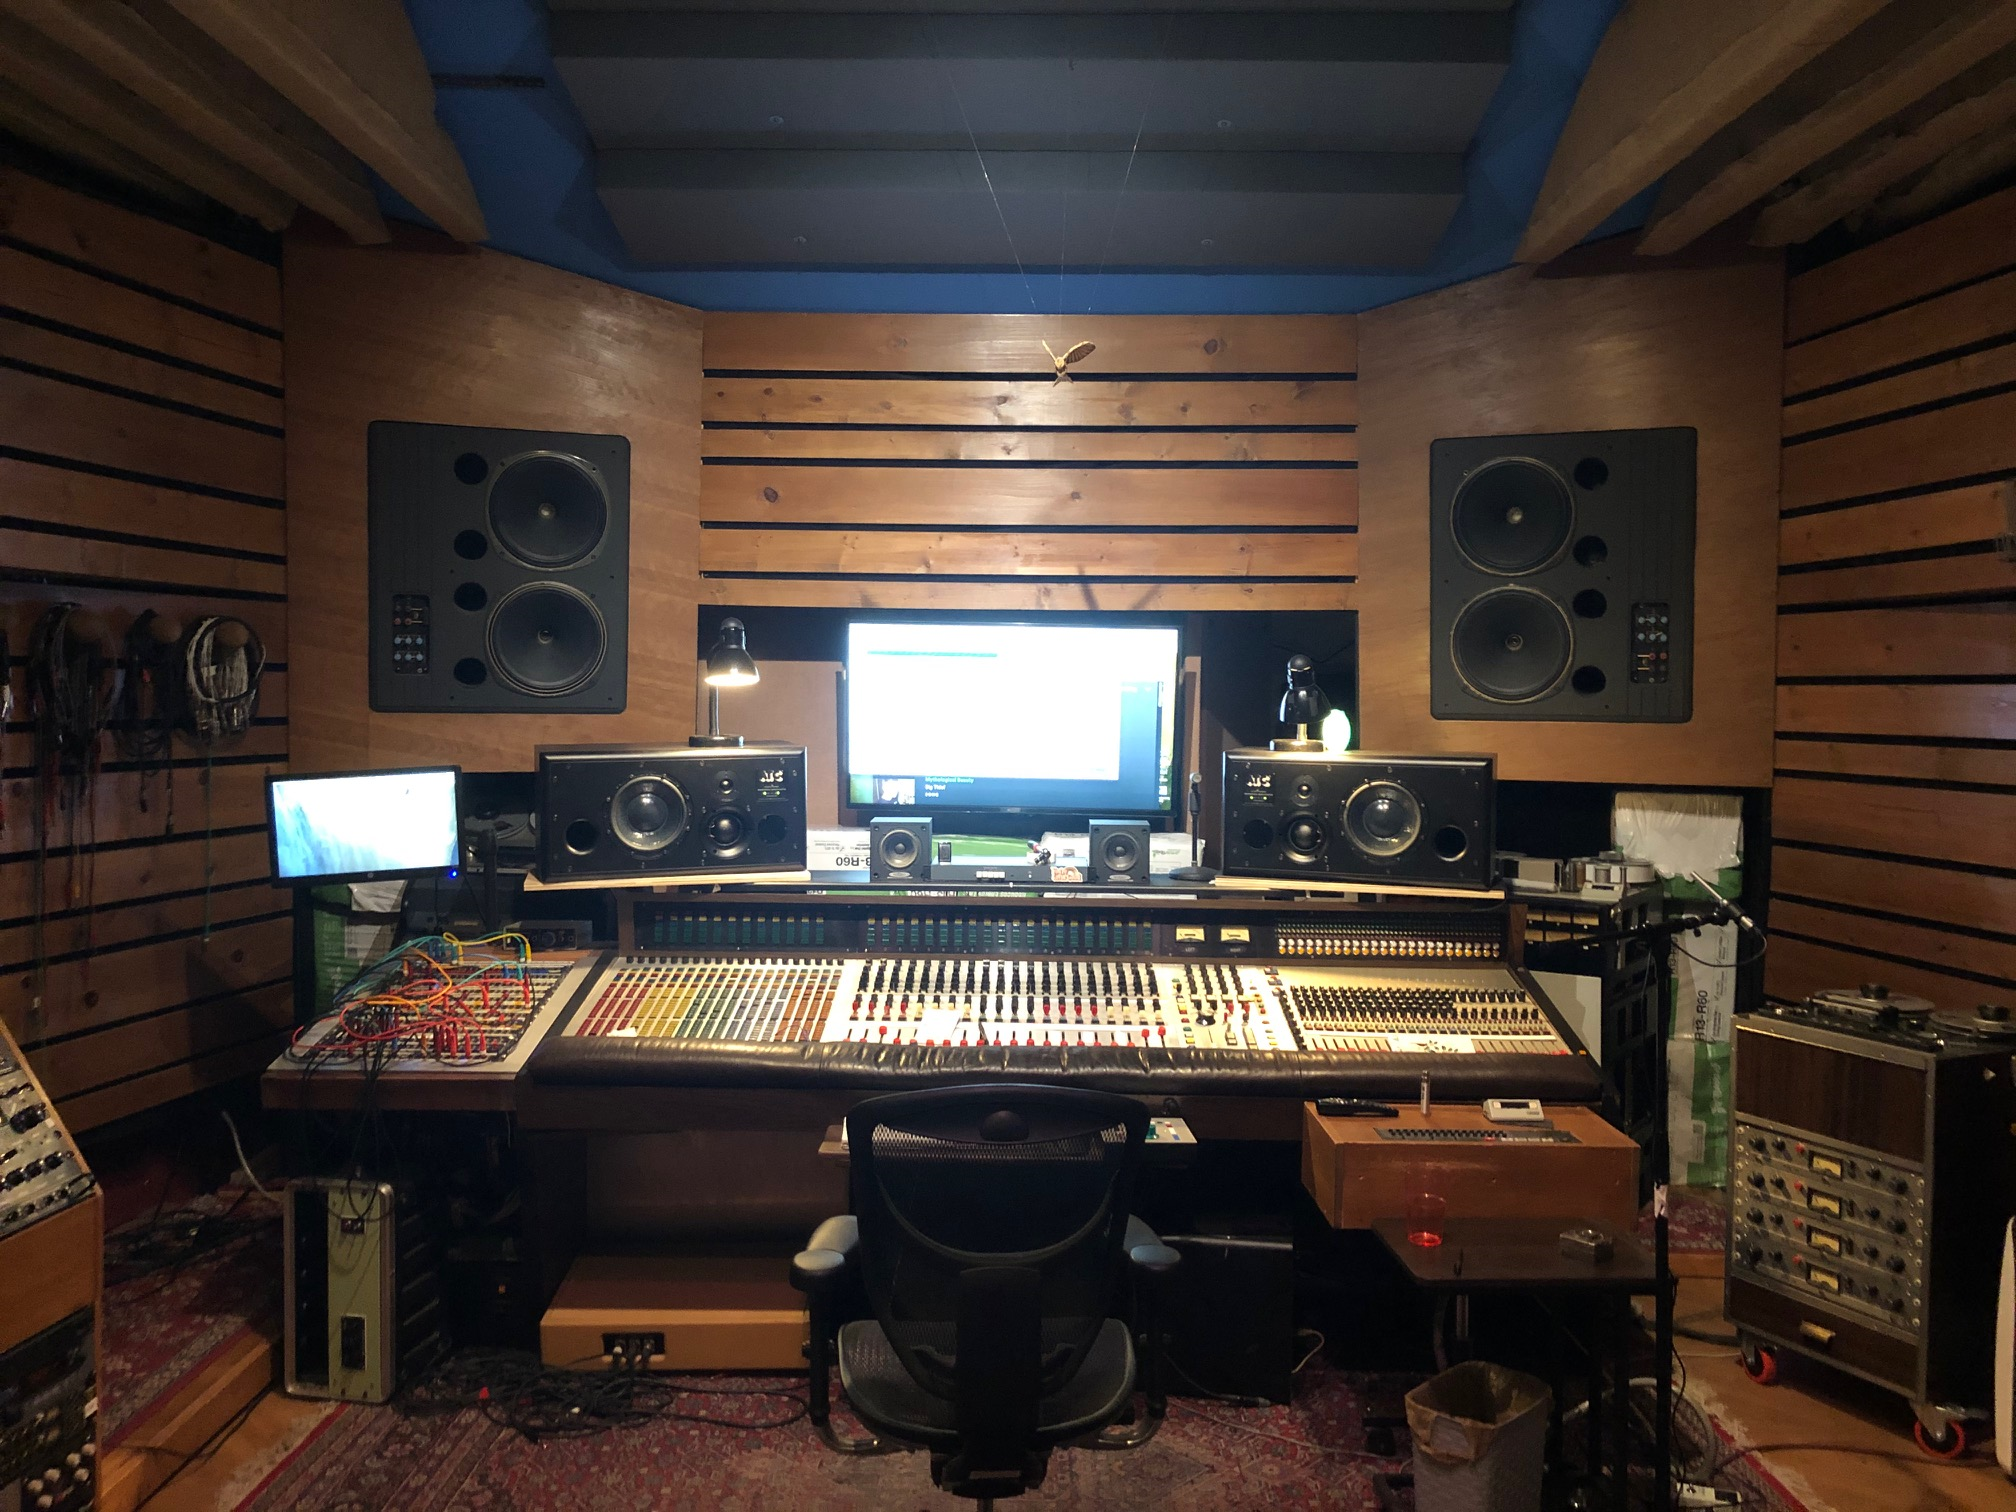
Mixing room acoustic treatment comes in many forms and types. However, by the time you are ready for treatment, you must have done many things correctly. The mixing room acoustic treatment is the last thing you will be adding to your studio. You must have addressed the noise, room size, and volume, and a whole host of other variables before you are ready for your mixing room acoustic treatment. Let’s examine a few of those issues that must take top priority in any critical listening environment.
Noise
When building any audio room that has critical listening as its goal you must first deal with any noise issues. We have noise issues from the outside of your studio that can enter your room and we have the noise you will be generating inside the studio which can leak to the adjacent structures and disturb neighbors. Noise issues will ruin the best of intentions when it comes to building your studio. We have seen numerous situations where thousands have been spent on the inside of the studio with no regard for noise issues. In some cases, the studio owners had to tear down what was built and rebuild with noise barrier technologies that actually addressed the real noise issues they faced. Guessing with noise both entering and leaving the room is a fool’s game and we see it every day. With noise, you must quantify and qualify the noise entering and leaving the studio. You must measure the noise over a seven day time period at different times of the day. Not all noise issues are the same every day. If you are mixing late into the morning hours the outside noise levels will drop and what was not a concern during the day when noise levels are higher, will become an issue in the early morning hours. It may find you in court with OSHA noise violations or worse yet, a civil suit brought by neighbors.
Quantify and Qualify
With noise, you must quantify and qualify the noise issues. You must measure the frequency and amplitude (strength) of the noise at all times the studio will be in use. These measurements must be done over a seven day time period at the quietest time of each day and the noisiest time of each day. We need to have both frequency and amplitude numbers over the times that your studio will be in use. The reason we need noise numbers is the barrier will build is directly dependent on the noise numbers that you measure. With noise, you do not want to spend any more money than you have to to stop the transmission of the noise. This is money that must go into the structure you are building and you can not take it with you when you leave. Whether the noise is coming in from the outside or leaving the studio, you must know what type of barrier you are constructing and what type of materials to use. Every material you will use in the barrier design and build is directly dependent on the frequency and amplitude of the noise issues you are trying to stop.
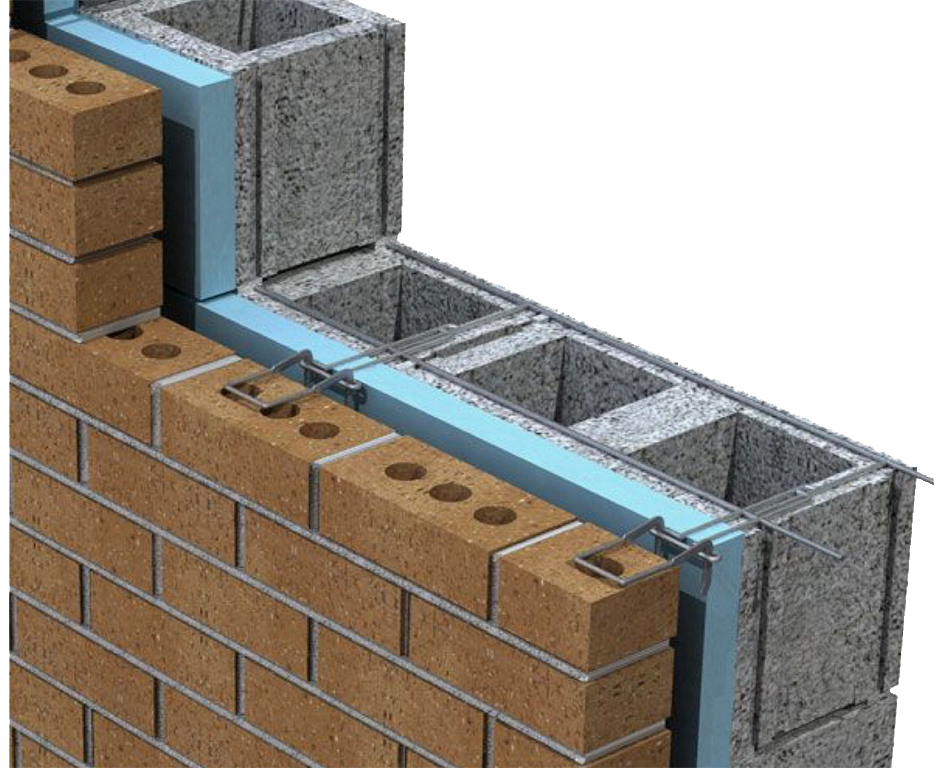
Low-Frequency Barrier Technology
Barrier Design
Once you have the noise numbers, you can begin designing your barrier. If your noise issues are lower frequency energy below 100 Hz. you will need one barrier type. If your noise issues are above 100 Hz. you will need another barrier type. If you have full range noise issues then you will have to build the barrier to address the lower frequency noise energy first and foremost. Garbage truck, traffic, construction, and other activities are full range noise issues. Voice and office conversations are other noise types. Each noise cause is different and requires different treatment technologies. This is why you can not guess with noise. If you build a barrier to stop just the conversation noise and a garbage truck is producing noise, you will have to tear the barrier you have built down and start all over again.
Seven Day Noise Time Study
We have developed and used for the last 12 years a noise measurement system that you can use with your phone. You download our apps and then follow the measurement instructions. You take the frequency of the noise and its amplitude or strength. You take measurements three times each day. You take measurements during the quietest times of each day and the nosiest times of each day and also a middle time where noise levels are not low but not high either. This data is then recorded on our datasheet. You send the datasheet to us and we design the barrier based upon your noise numbers. This way you can assure complete compliance with the noise issues that are specifically impacting your studio. This process eliminates guessing and you get a structured design that works for all the noise issues you will face in your studio build. We send you the drawings for the barrier wall along with a material list so you can build or have a contractor build your structure. Here is a link to that process:
Sound Barrier Design: https://www.acousticfields.com/sound-barrier-technology/
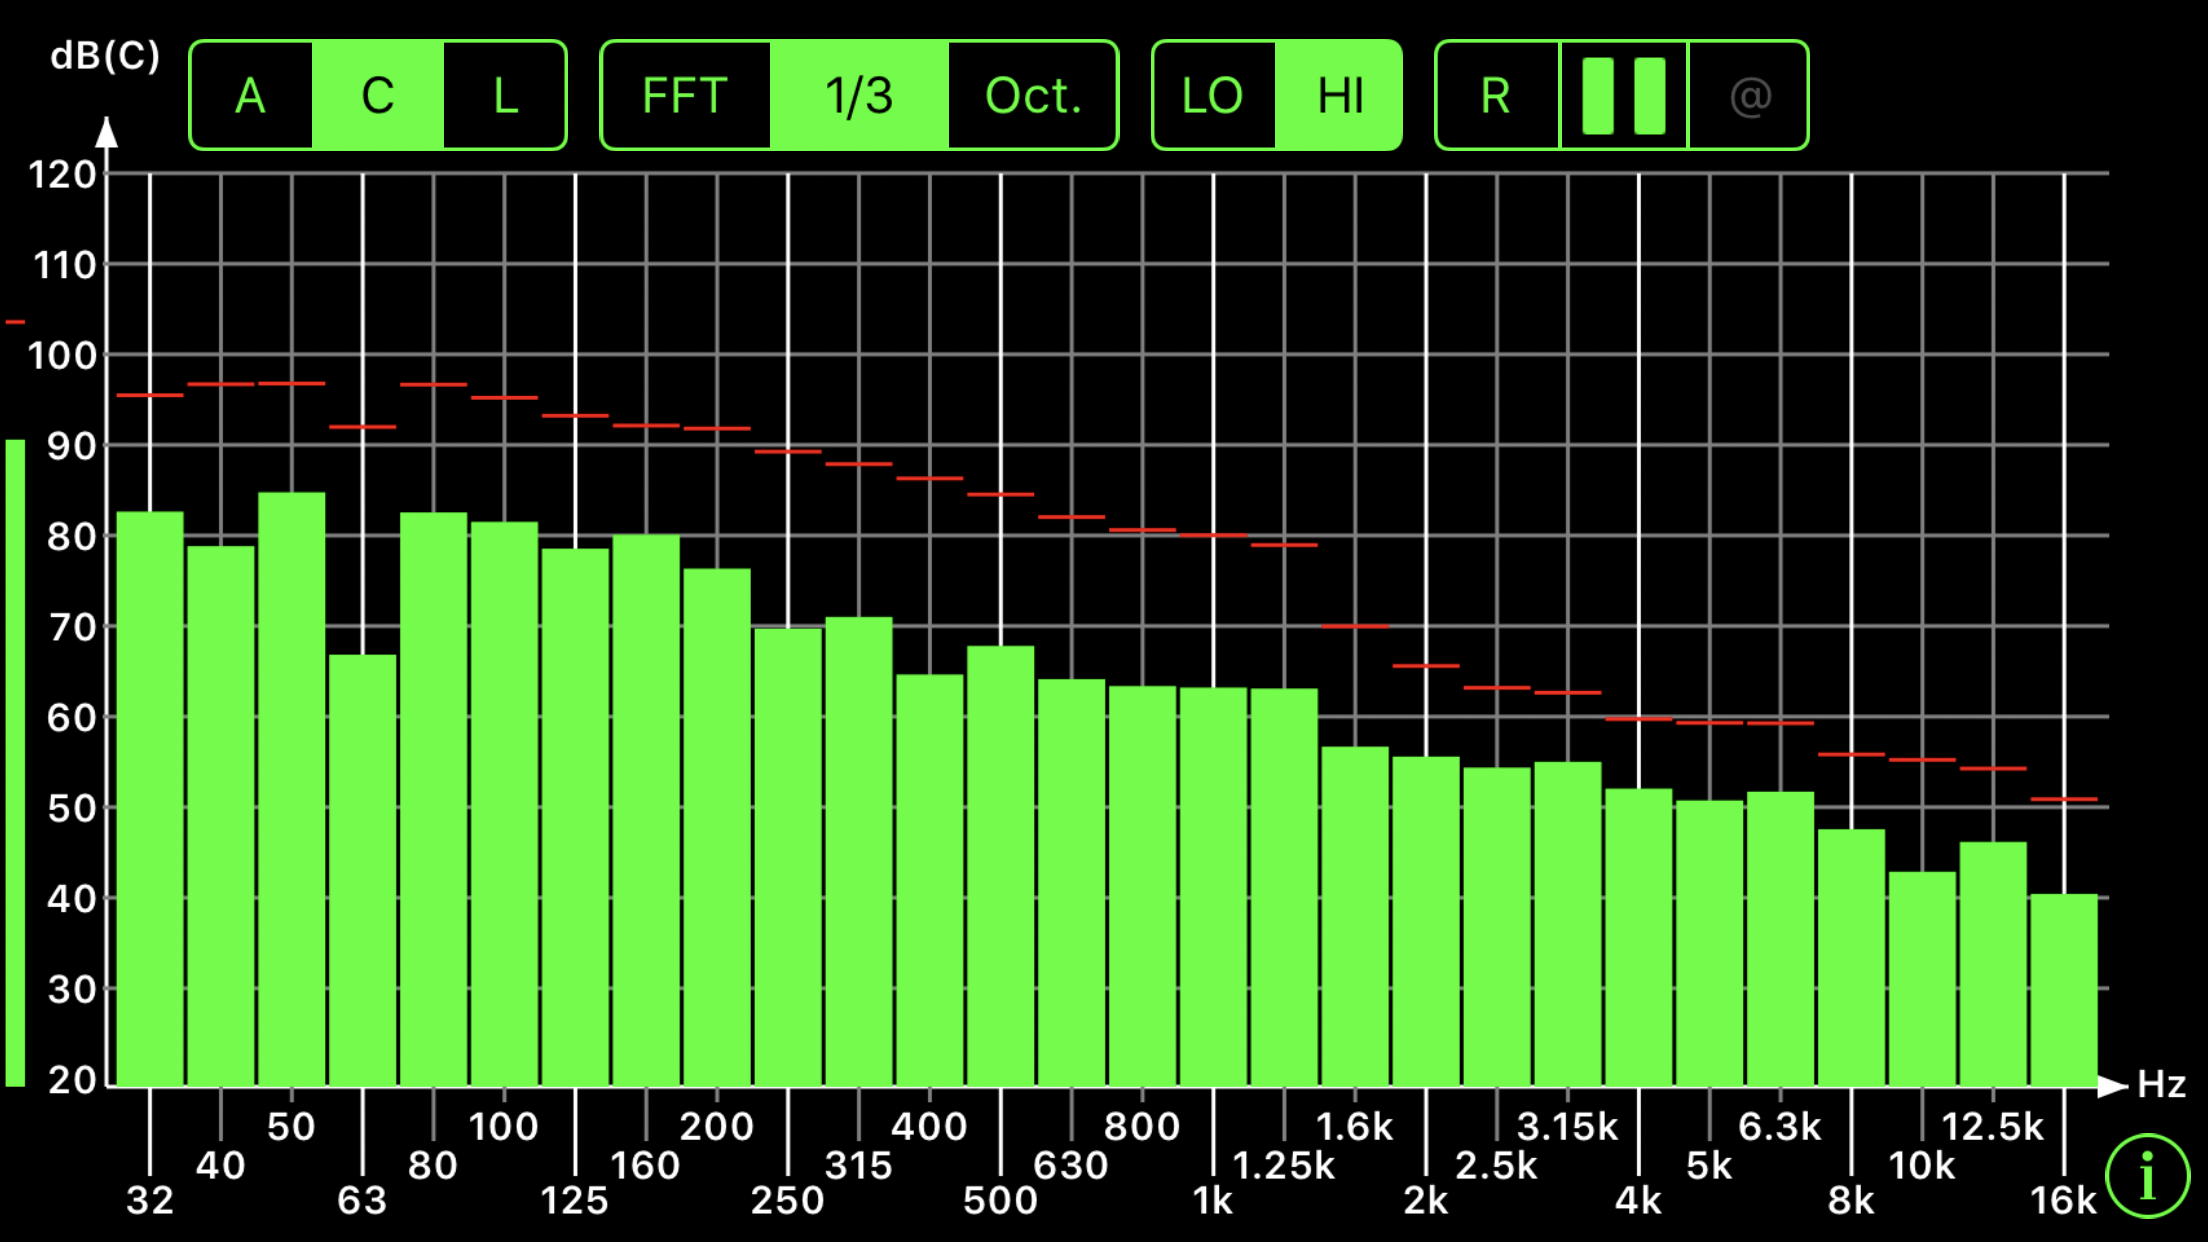
Octave Bands
Studio Build
Once you have your barrier design, you can start the costing process for materials and labor. With a studio or any critical listening environment, we have two rooms that need to be built. We have the noise “room” or shell and we have the treatment room. The shell addresses the noise issues and the treatment room addresses the absorption and diffusion that will become the mixing room acoustic treatment. The shell will have to be built first to deal with the noise issues that we took measurements. The treatment room will contain the mixing room acoustic treatment that will deal with low, middle, and high-frequency absorption along with middle and high-frequency diffusion. We must first focus on the low-frequency issues within the room. We must get the low-end fundamentals correct first and foremost since the low-frequency fundamentals produce the mid-range harmonics. The first thing you can do to minimize the impact of low-frequencies is to choose the correct room size and volume to match your usage.
Room Size / Volume
The width, height, and length of your room along with the usage or what you are going to do in the room determines many issues you will face in the mixing room acoustic treatment side. Choosing a room size that will allow low-frequency or “bass’ energy to fit within the room will save you money and many headaches down the road. We have all been in rooms where the low-end of the room is overwhelming. The “bass” sounds like mud. There is no separation or definition between the low frequencies. Everything sounds the same which usually is horrible. All small rooms have low-frequency issues. However, you can minimize those issues and reduce the cost of treatment by choosing a room size and volume that works with your mixing room. There are certain combinations of width, height, and length that will produce less low-end issues. Here is a chart to assist you with room dimension ratios.
Barrier / Sound Absorption
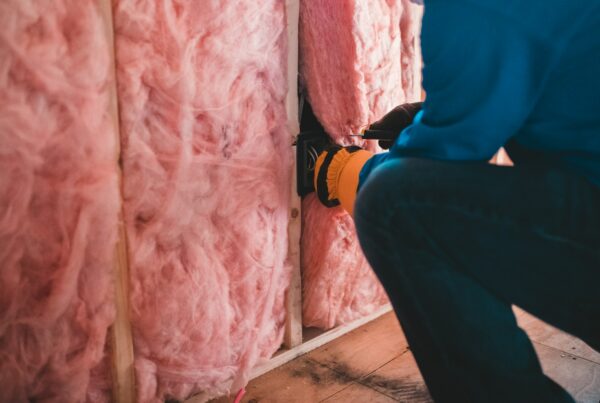
One way to minimize your costs and save valuable space is to incorporate both the noise or barrier technology and the low-frequency management technology into the same structure. This can be done if your noise issues after measurement are not large in strength or low in frequency. If you do not have large low-frequency noise issues to contend with, we can build the noise or barrier technology along with low-frequency management technology into the same structure or wall. We build the outside of the wall to deal with noise issues. We then use the other space between the studs to incorporate low-frequency diaphragmatic absorption between the studs. With this approach in a wood-framed room, we can tune the room every 14 1/2″ between the studs. Since most issues in our rooms that are low-frequency related we find that some walls produce issues at certain frequencies that are different in frequency and amplitude than other walls. Our Carbon Absorbing Wall technology can provide this specific and powerful tuning option within the walls themselves so you do not need a lot of free-standing units around inside the room. Watch the video in this link for a better understanding of the process.
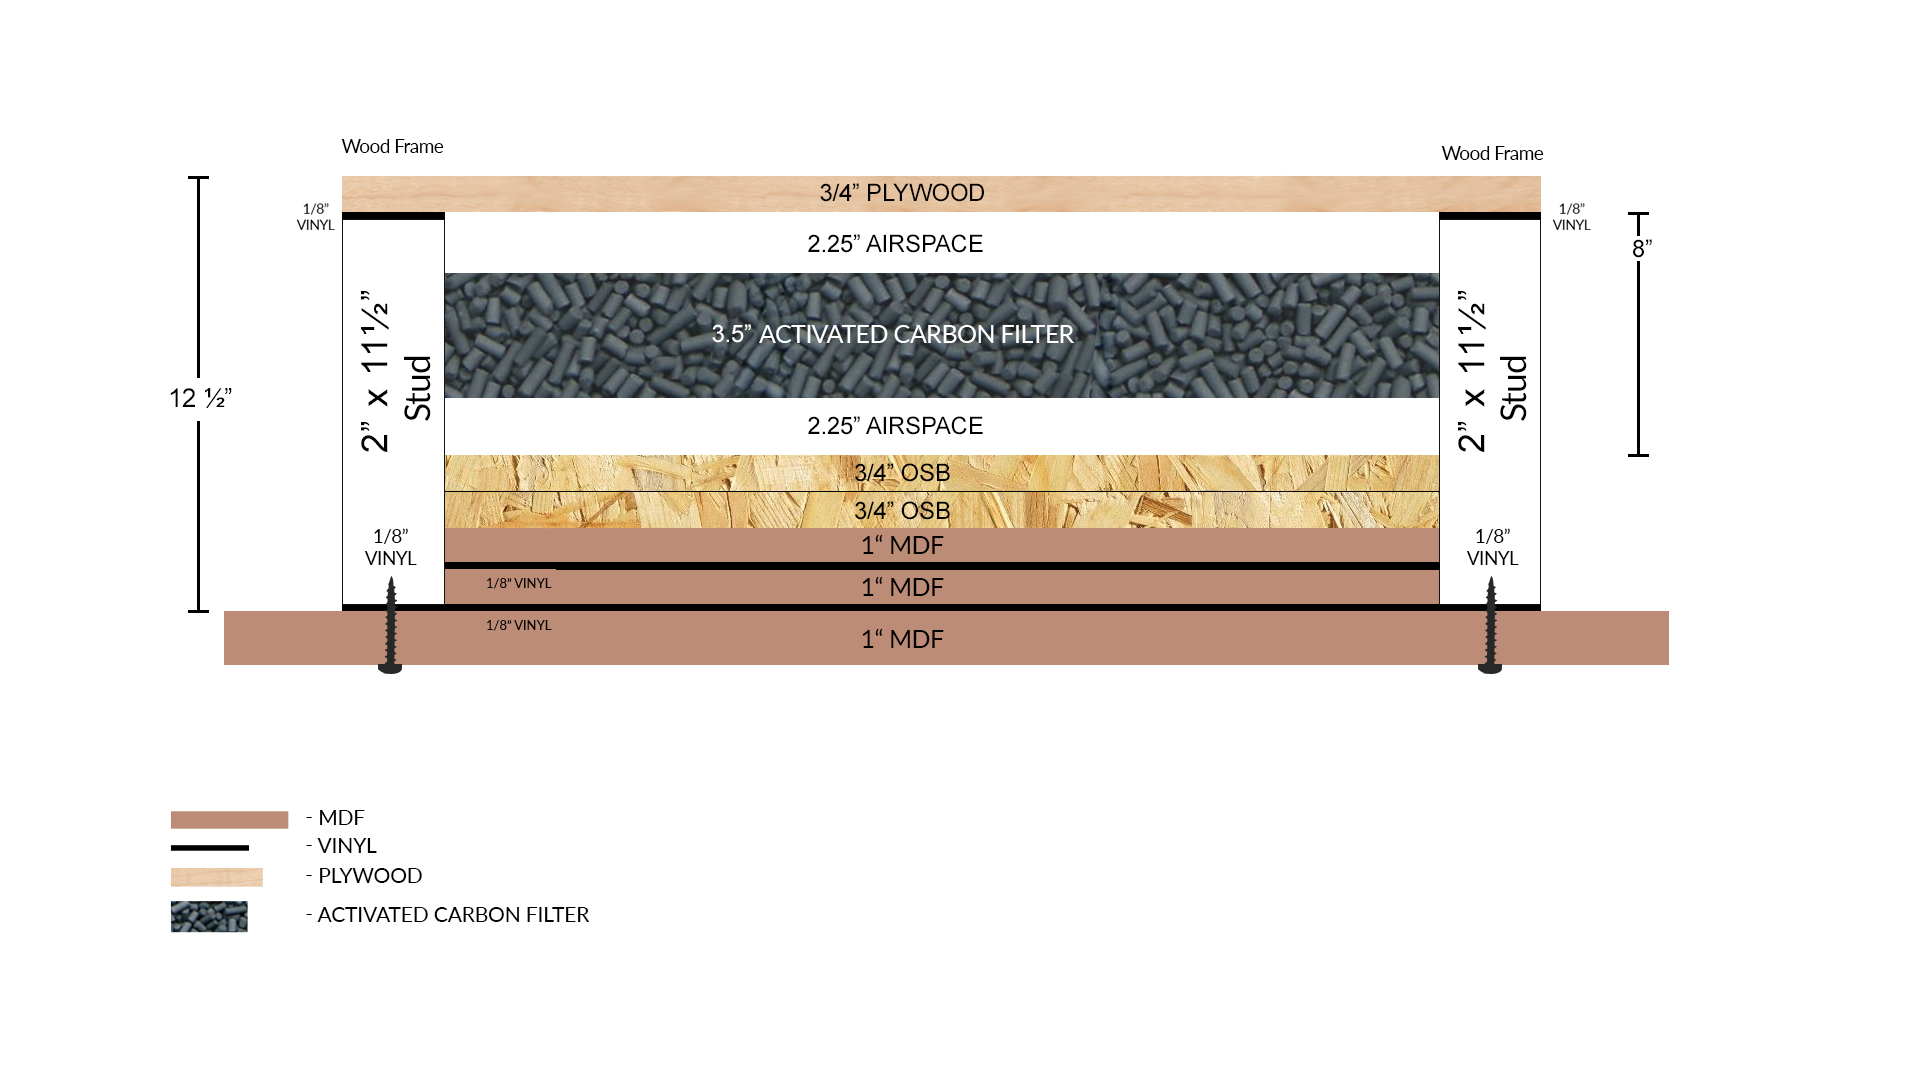
Noise / Low-Frequency Treatment
CAW: https://www.acousticfields.com/carbon-absorber-wall/
Middle / High-Frequency Management
Once we have the low-frequency issues managed as best as we can, we are ready to deal with the middle and high-frequency energy in our mixing room acoustic treatment process. Middle and high-frequency issues can be dealt with using sound absorption or sound diffusion technologies. Reflections from our wall surfaces will have to be managed and reverberation times lowered down to 1 – 1.25 seconds. This can be achieved using cost-effective open-celled foam. Not just any foam will work. You must use a foam technology that was specifically designed for noise. Most foams in the marketplace are designed for noise. Our foam took eight years to develop at a cost of over 2 M. Our Studio Pro Foam was specifically designed to manage voice and music. Voice and music are different than noise.
Studio Pro Foam: https://www.acousticfields.com/product/acoustic-foam/
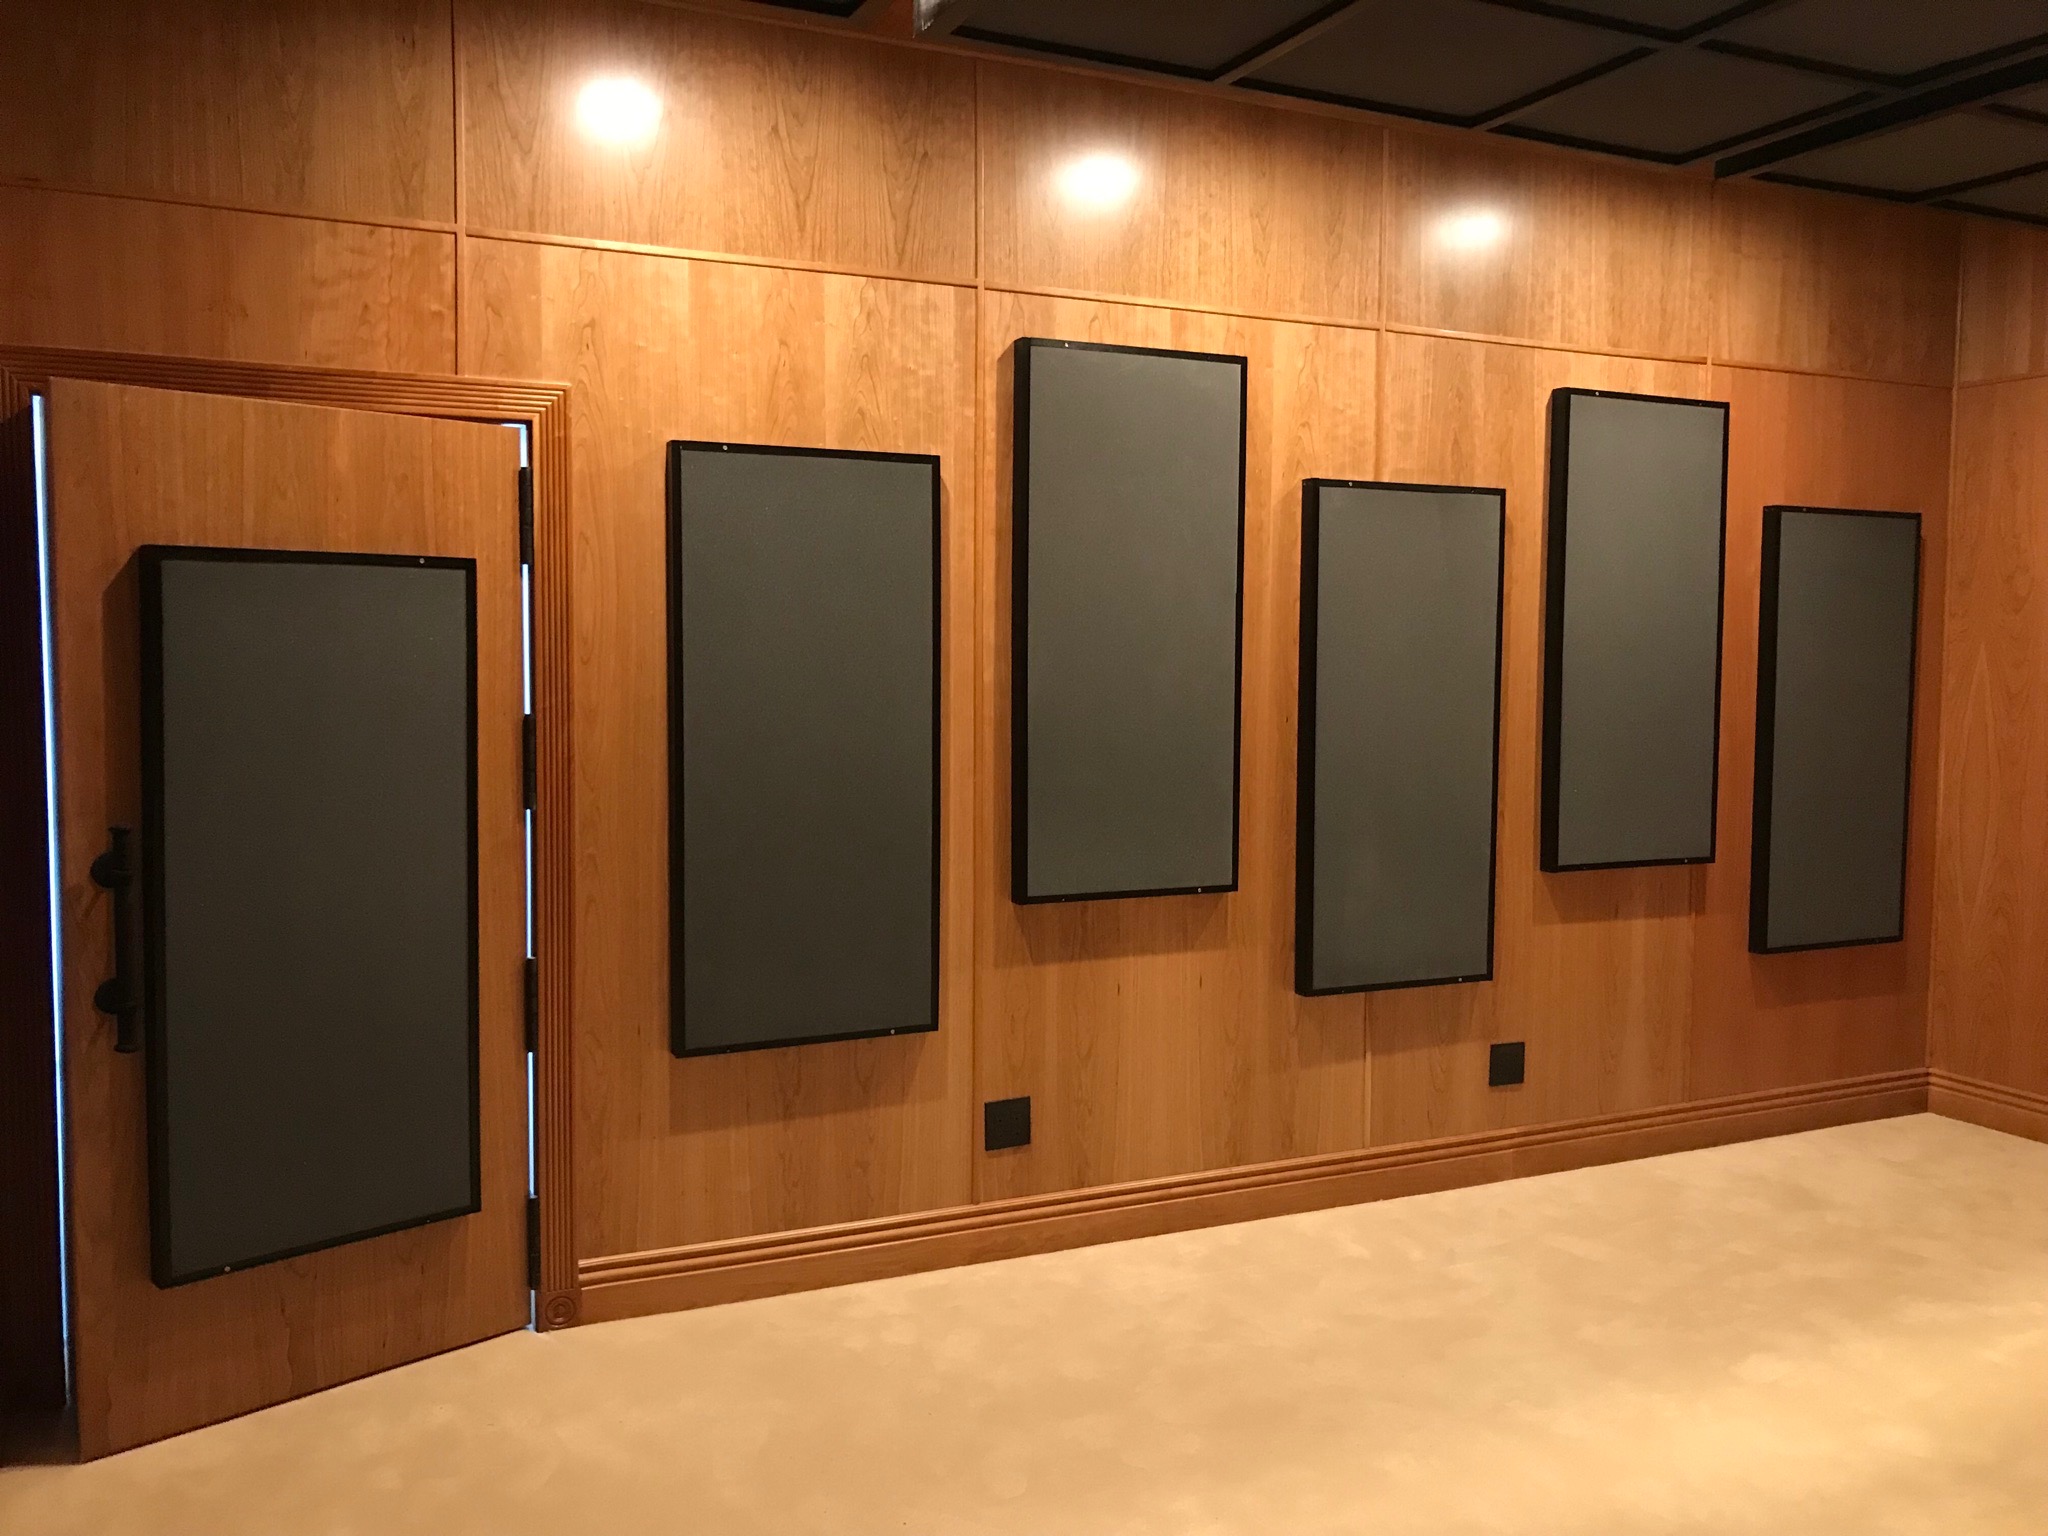
Studio Pro Foam Panels
Diffusion
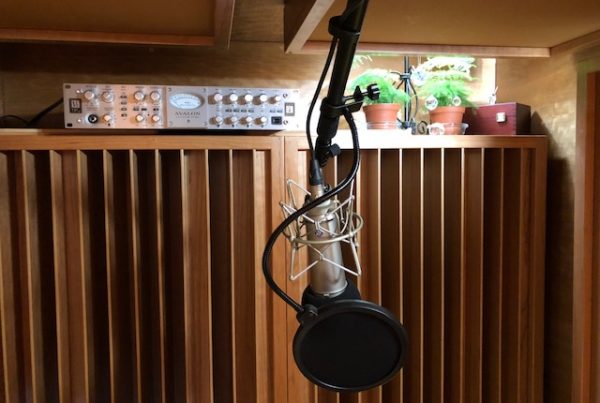
Diffusion is a technology that does two things well. First, it minimizes the negative impact of reflections on our wall surfaces. Second, it can make a small room sound larger. You must follow some distance and positioning rules when using it in any mixing room acoustic treatment. In mixing rooms, the rear wall can benefit greatly from diffusion by minimizing the rear wall reflections which are time delayed at the monitoring position. Care must be taken to use the proper diffusion sequences when considering what quadratic diffusion prime number sequence to use.
About Us At Acoustic Fields: https://www.acousticfields.com/about/


