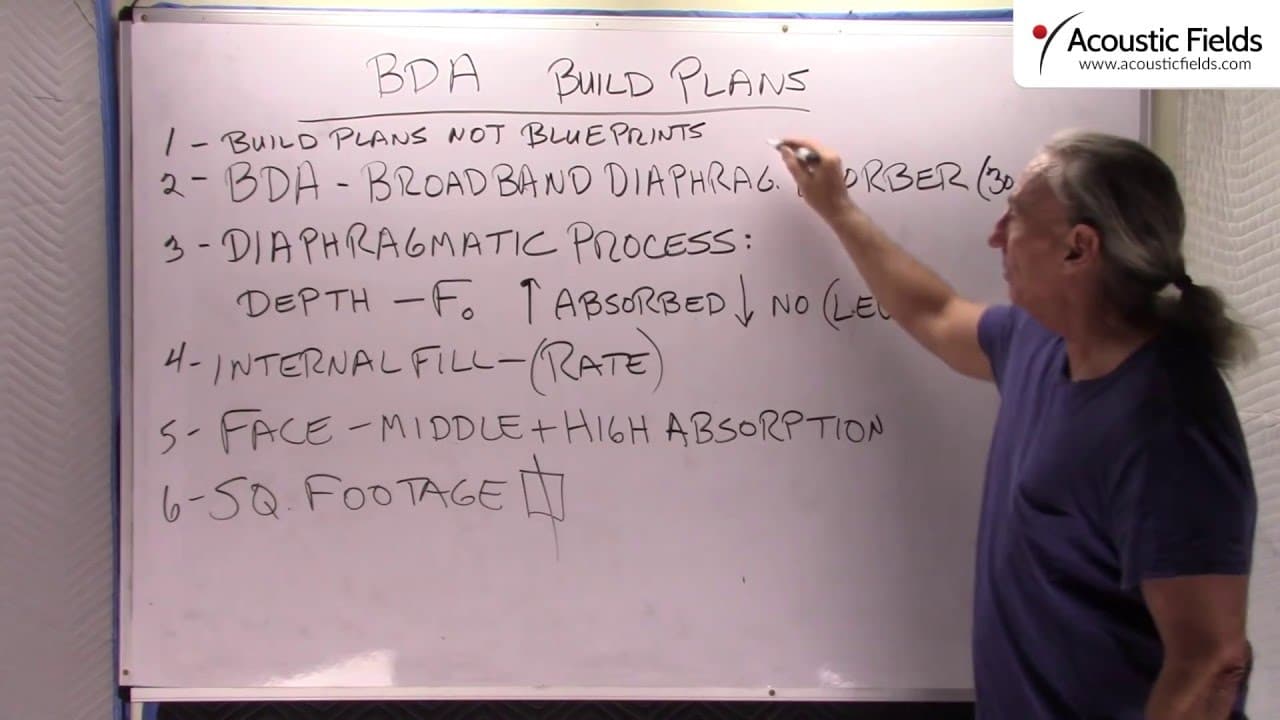
We offer a lot of kits in the DIY section of our website, you can go to our homepage and look at all the products that we offer in the shop. I want to walk you through those build plans that we offer so that you have an overview and understanding about what they really are and what they really can do for you. First of all, they are build plans and not blueprints. They are plans to give you an idea of what you are up against in terms of measurements, sizes, materials, and things like that. Layout, assembly, but they are not specifically measured to show you exactly this peace is this long and that peace is that long. You have to do your own layout, because you have to decide what is best for you. And it is too many variables for too many people to have one size fits all, and in acoustics, as you know, that is really a rare thing. What does BDA stand for? Broadband Diaphragmatic Absorber (30 to 400 cycle range). So that is frequency response, that is one of our first, actually the BDA drawings are our eighth prototype construction in a series of 12. The 11 to the 12 are the products that we offer on our website with the carbon technology. The BDA does not have the carbon technology inside, the carbon technology boosts the performance of the BDA by 25%. We do not license the technology anymore and give it out like we used to in the beginning, but it is available through purchase with our production units. So you have the diaphragmatic process, let’s go over to that.
The cabinet depth, we have three parts to it. We have the cabinet depth, and then we have the cabinet strengh or mass, and then we have the front wall construction. So there are really three parts to the cabinet. And you know there are diaphragmatic absorbers, you have that dual front wall and the carbon in the middle, and the cabin has a specific depth and air spacing and all of that. So you have the two front walls, and then you have the carbon filter. You can go to the website to see better how all that works. And then the cabinet rigidity or strength, in this case it is the 1“ MDF we use in the BDA draught, and then you can add more density to the back, you can add more density to the sides. It just depends on your needs and how much coverage you have. That is why they are build plans and not blueprints, because one size does not fit all.
So the depth of it determines the frequency of residence. Ok, what is that? That means, lets say the frequency of residence is 30 cycles. So everything above 30 will be absorbed, everything below 30 will not be. But we are happy with 30 to 400 because that are the problems most rooms face in the lower end. The internal fill material or the carbon, or if you are building it yourself without the carbon, the foam is directly responsible for how much energy it absorbs within that frequency range. So if you get the right balance between cabinet rigidity, the dual front wall construction and the absorber in the middle then you will get a nice balanced product that produces predictable and consistent results, and you can see the riverbank labt tests results on our website. You have to deduct about 25% of those numbers because you are not going to use carbon in the BDA.
Regarding the face, obviously you can put foam on the face. What is foam, it is a middle and high frequency absorber. So you can really get yourself in a position, if you put our foam on the front you can get an absorber that goes from 30 to 6500, that is pretty broadband. So you get a low frequency absorber and you get a middle / high frequency absorber up to 6500, and the rates of absorption are incredible. It took a long time to figure those out. The internal fill cabinet material, that determines the amount of absorption that occurs, the depth of the cabinet and then the cabinet rigidity all work together.
Now, how many BDAs do I need in my room? I hear this question a lot. – Unknown. You have to send me your room dimensions, you have to fill out the room form, we have to look at the diameter of the low frequency drivers, we have to look at the pressure level that you listen to music at, we have to look at your room size and volume. So many variables that we have to look at, that is why I came up with the room form. If you are considering buying a BDA plans, fill out the room form and I can help you and tell you how much square footage you are going to need, and, more importantly, where to put it. So I can tell you how much you are going to need to build and where to put it. You are always going to need more than two units, two units at a minimum, 3 units, 4 units. 4 units is about the average, some rooms need 6, some need 8. So, you want to know all that before you start the process. It’s easier to build 4 units at once than it is one, because the cutting of the pieces and everything will be the same. So regarding BDA build plans, I hope that helps you. If you buy them and have any questions, email me or call me and I will walk you through them. Buy the plans, study them for reading and comprehension. Put together a list of questions and send me a email or call me.
Check out our BDA DIY plans in our DIY section.
—
This is an unedited transcript from our video series from Acoustic Fields. There will be some errors in grammar and sentence structure that occur during this translation process.
For complete understanding and comprehension, please view the video which is included in this text. For any additional information regarding this topic or others relating to room acoustics, please contact us directly at:
P: 520 – 392 – 9486


Hey really awesome site man. Mine is rather consise https://thehomestudiopro.wordpress.com/ heh.. not nearly as informative as yours. Good job & keep it up!
Thank you for your support. What is your room size?
Great blog / Kristian Orellana @ LN Akustikmiljö
Hi Kristian, Let us know if there are any topics you wished covered.