The Acoustic setup of your room is, for me, THE most important element in your enjoyment of your music. In fact pretty much everyday I see something, in the photos that new customers send me, which makes no acoustical sense and I immediately want to tell them about how they can improve their acoustic room setup. When I make them aware of the issues and then they take the appropriate action, most are amazed at the improvement of their overall sound quality. Remember, your final room acoustic sound is the result of attention to detail on every level. Room sound quality is a combination of a lot of little things done correctly. It is that adding together of many small things done right, that gives your room its total sound.
The Do’s And Dont’s Of Setting Up Your Room Correctly With Acoustics In Mind
There are also thresholds to this adding together of many small parts. If you add 2-3 things together, you get improvement. You add one more to this sum, you can have a 100 % improvement without adding any more things. You now realize that this a game of acoustic synergy; one plus one can equal 4. Lets go back to room set up – part one basics and look at wall surfaces.
Rectangular Rooms
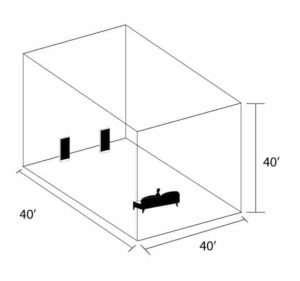
Stay with rectangular rooms if this is your first rodeo. Rectangular rooms are consistent and predictable because of the distance ratios inherent within a rectangle. We know in a rectangular box how pressure is going to behave. We know reflections and their time signatures. We know direct sound vs. reflected energy time windows in order to create sound stage width. We know a lot with rectangular rooms because they are predictable and consistent in their distances of room surfaces. For your first room, stay with a rectangular room. For your next room, try a different room configuration with all of the knowledge you have learned from a rectangle box (I call rooms boxes because, well that’s effectively what they are when you think on the theory/solution paradigm).
Room Surfaces
Make sure all room surfaces are the same to start with. If there is glass on one side wall and not the other, the glass must acoustically go away. You never want “car sound” in your room. All glass must be treated to not contribute any ill effects to our room sound and glass has many ill effects. No need to discuss this any further. All glass must go. This will not only be mentioned in Room Set Up – Part One, but will be mentioned again in part two.
No Resonant Cavities
There can be no empty cavities that have a height, width, or depth. These little rooms within our room must be dealt with. Empty, they become speakers taking energy inside of them, letting the energy swirl around inside the small cavity which causes the air to start vibrating if you will and then spitting noise back into your room. That noise is calculated by looking at the small cavities dimensions and volumes and then assigning a “noise” frequency range to it. Yes, you heard me correctly, frequency ranges. You can have the fundamental noise frequency and all its cousins. This family of noise usually resides somewhere within the human vocal range. You can not have any of this noise in your playback or recording rooms.
Cavity Fill
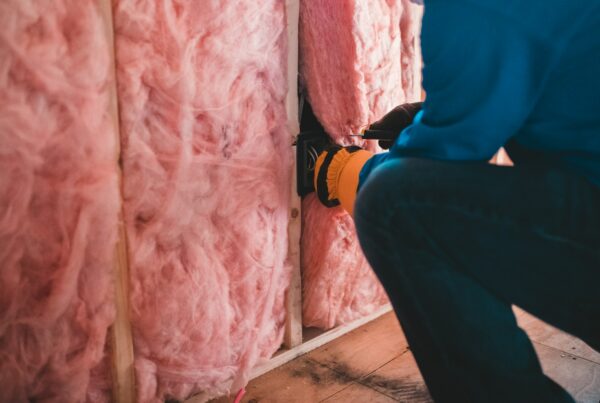
Find the cavity (usually closets), and turn it into a low frequency absorber or whatever absorber type and frequency range the room needs at that room location. It can be a corner, but mid, quarter, and eighth distances are also welcome. Whatever the need is within your room do not leave it empty. Fill it with sound absorbing material, at least 75% full. Place a measurement microphone next to the opening and even inside the cavity to measure any “noise” issues created inside of the cavity (which reminds me when I move out of my house I have a lot of material to get out of the chimney!).
Low Frequency Issues
Do address and deal with all low frequency issues below 100 Hz. It is much easier to treat the low frequency issues in the beginning before you have installed all your gear and equipment. Make sure you identify all areas where modal behavior lives and treat with the proper type and amount of low frequency absorption. Go room mode hunting and find their exact location (sign up for the mailing list here if you haven’t already as I have free videos for you on how to hunt room modes). Once found and identified they can be treated with the correct sound absorption technology.
Sound Absorption Technology
Remember that foam wedges are not low frequency absorbing devices. Neither are limp mass absorbers that require conformation to the quarter wavelength rule where your limp mass absorber must be 9′ thick to have an impact on a 30 Hz. wavelength. Use diaphragmatic or Helmholtz resonators to deal with sound absorption below 100 cycles. They both perform at lower levels and can be built to have high rates of absorption from those designed for absorption levels.
sine.ni.com/cs/app/doc/p/id/cs-654
In Summary
So this concludes part one of this discussion on the acoustic setup of your room. Look out for next weeks post where we explore the “sound triangle” and why you need to become friends with it!
If you would like to learn more about room acoustics please sign up for my free videos and ebook by joining the mailing list here. I send room tuning tips and things for you to test in your room every Wednesday. They are easy to follow and will really help you enjoy more of your music.
Alternatively feel free to contact me directly at: 520 – 392 – 9486 MST or info@acousticfields.com. You can see more of my research and development story and why I started Acoustic Fields at: https://www.acousticfields.com/who-we-are/.
Thanks and speak soon
Dennis


