We have learned many new things relating to sound stage height, width and depth since this blog was published. We have updated this blog on 11/18/19 to reflect our new findings.
The acoustic goal in your room is to create a sound stage that has height, width, and depth that delivers the best sound for the confines of your room. Why do we do this? We are trying to duplicate the sound stage that we hear when we go to a live musical event. in a live musical event, the sound is full and has dimensions to it. A live presentation is “live” in every domain. There is a dimension to the presentation since it is on a stage with a distance between performers. Instruments are on separate channels. Music and voice are balanced together. Stages are large and so is the live presentation.
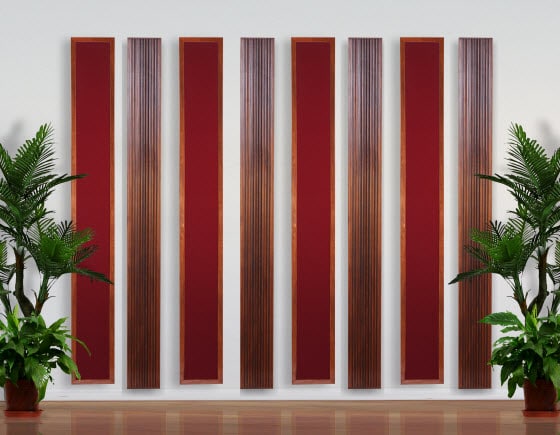
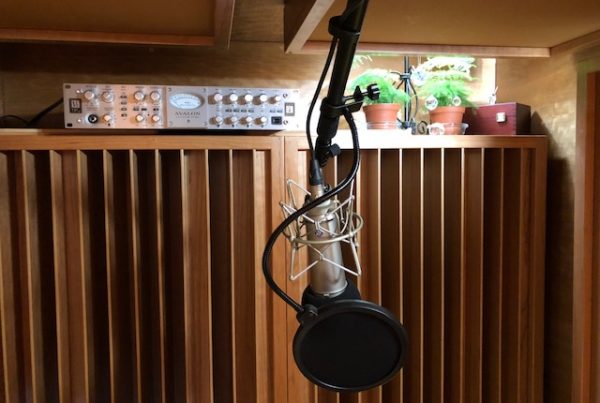
When we try and squeeze that musical sound and presentation into our rooms, we have room boundaries to contend with. These room boundaries, such as walls and ceilings, produce reflections that can color and distort the height, width, and depth of your sound stage. In order to minimize the impact of all of these surface boundaries, we turn to sound diffusion and sound absorption technologies to acoustically make the boundary surfaces disappear just like in a live presentation. We must use absorption to “soak” up unwanted low-frequency pressure energy. We can use diffusion and absorption for middle and high frequencies.
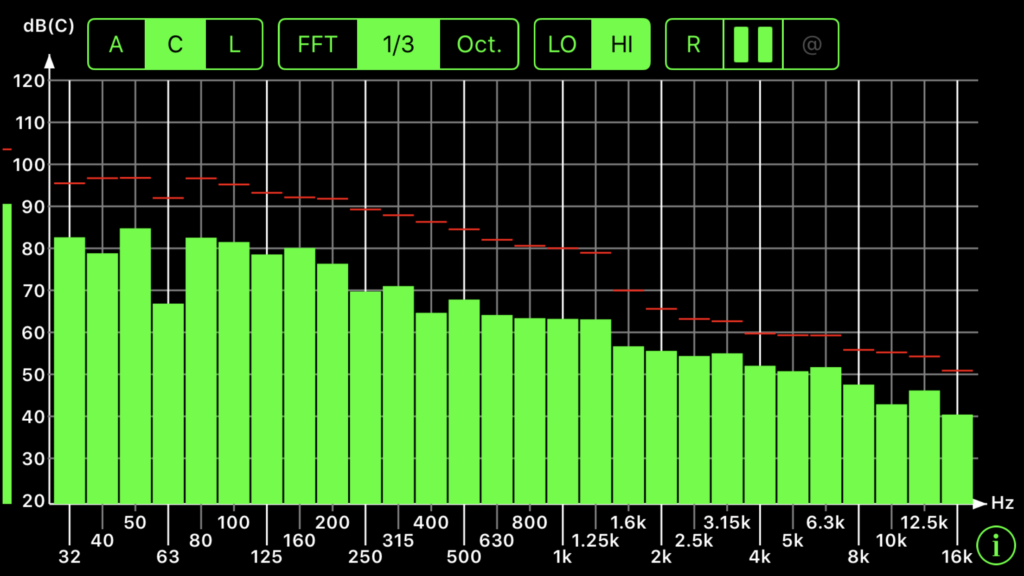
Octave Bands
How To Achieve Height, Width, Depth on the Sound Stage
Engineers in the studio have the same issues to face when considering the height, width, and depth of the sound stage in their recordings. Instead of using room acoustical treatments as their tool for eliminating the effects of the room sound, engineers turn to more of an electronic approach and manipulate the signal within their boards and eventually their mixes. Engineers use electronics, acoustical engineers use room acoustic treatments. In fact, a good recording, in order to be considered a good recording, must have a decent height, width, and depth. This single feature can mean the difference between a lo-fi and a hi-fi recording.
Soundstage Definition: https://en.wikipedia.org/wiki/Sound_stage
Same Goal Different Means
Just like in film or paintings we can create the illusion of three dimensions on a two-dimensional surface. In the film the surface is the screen, in paintings, it’s the canvas, and in music, it’s the stereo field. The only difference is that with a screen or canvas, the height is already given simply by its existence, whereas with the stereo field we have to create an illusion of the “top-to-bottom” dimension.
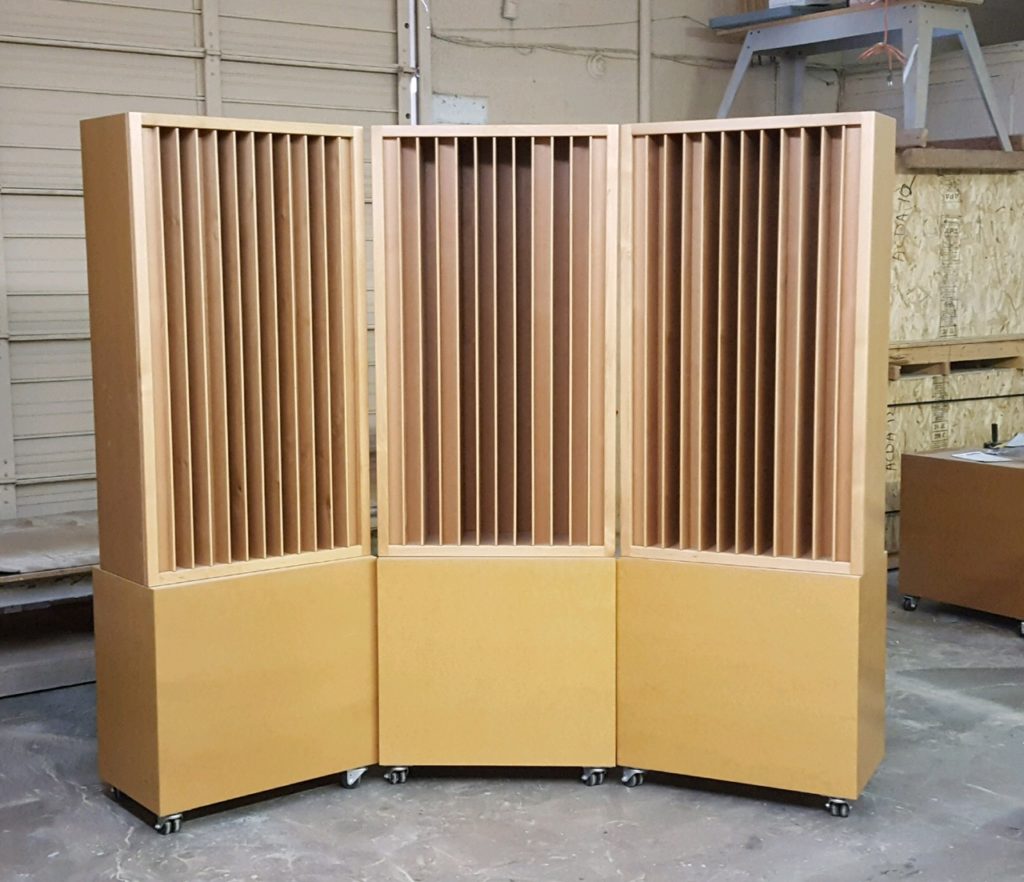
Quadratic Diffusers Reduce Reflections Add Depth
Height
To achieve a soundstage, we need to follow simple laws of sonic physics when it comes to distance. Distance from our speakers to the sidewalls. Distance from the front wall to the speakers. Distance between the speakers and to the listening or monitoring position. Don’t forget about the distance from your ears to the rear wall.
This phenomenon can can also be due to common tweeter placement with speaker woofers most often being lower than the tweeter in vertical alignment. Partially, this phenomenon is caused by the way low-frequency energy “projects”. The wider dispersion due to omni – direction radiation patterns allows them to reflect off the nearest surface such as your desk. Higher tones are more directional and will reach your ear without as much near reflection over short distances.
Height Signal Contrast
For these reasons and probably others, we tend to hear high harmonic content as “up” and low harmonic content as “down.” By creating contrast in the extremes of the frequency spectrum we can make a mix sound “tall.” If just one naturally bright element like a bell or hi-hat is a touch brighter, and one low element like a kick or bass is a touch thick, the whole mix will expand. This is why room height distance is so critical and misunderstood. The ceiling height is always the lowest of the three dimensions. It creates the most unwanted low-frequency pressure issues throughout the whole room volume.
Diffuser Sequences: https://www.acousticfields.com/product-category/sound-diffusion/qd-series/
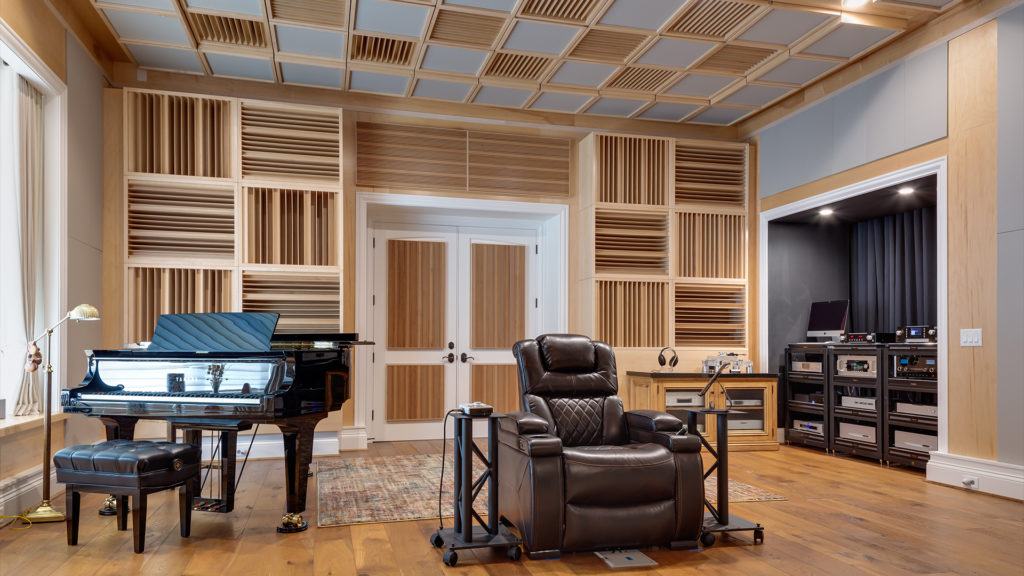
Rear Wall Diffusers
Width
Width is also about contrast. If two sounds are exactly the same and play at exactly the same time from each speaker, we perceive it as coming from a center point between the two speakers. This is often called the “phantom mono” or “phantom center.” The key here is similarity. As soon as the sounds become different or the timing becomes different they start to spread across the stereo field. We need to have enough width distance to allow for these variables to live and die on their own volition without coming into contact with a room boundary surface.
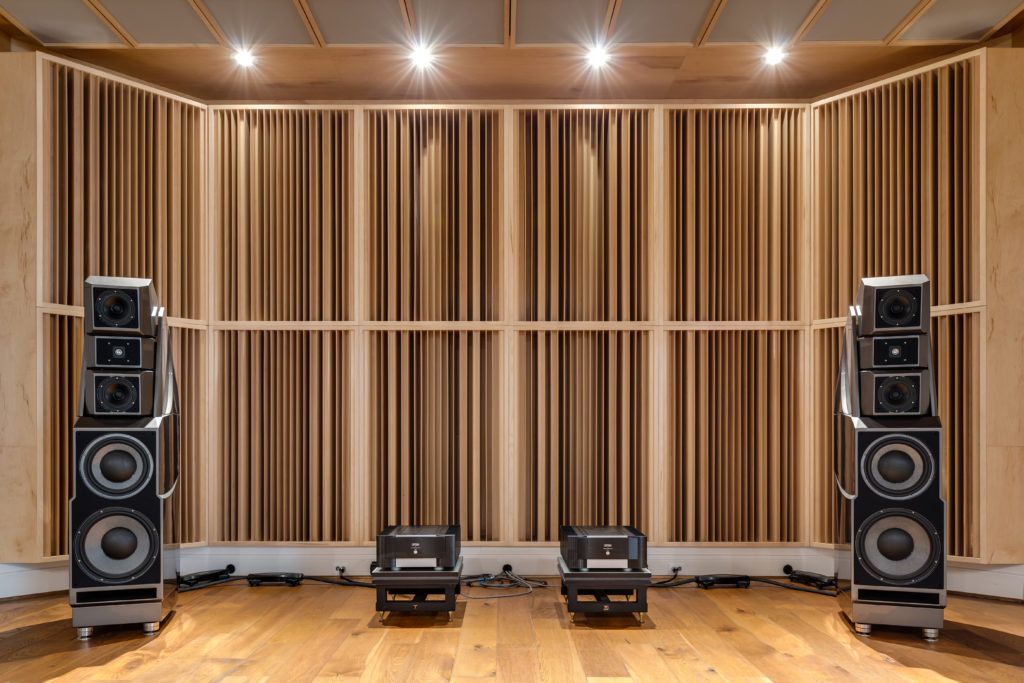
Front Wall Diffusers
Localization
It stands to reason that two sounds that are easily localized (meaning our ear can clearly hear where the sound is coming from like a woodblock, triangle, or glockenspiel) played at different times will sound very wide. The greater the contrast between what’s happening in the left speaker versus the right speaker, the wider the image. The wider the physical distance in the room, the more time we have to let all the sonic physics play out within proper distances.
Harmonic Soup
While this seems fairly simple, remember that in a dense mix, it’s very easy to get harmonic soup. Sounds can begin to run together pretty easily. A prime example is doubled guitars. If you double a guitar part four times and pan two doubles to one side and two doubles to the other, the end result is often not as wide as desired. The key here is to create as much contrast as possible: use different guitars, amps, and/or mics and mic placement for the doubles. Create contrasting tones. This will allow the ear to hear more separation when they are panned apart.
Width Processes
On the subject of width, natural panning is always preferred, rather than relying on chorusing, Haas delays, or doublers. Two different takes of a guitar line are going to sound wider than one take sent through a doubler. This process can usually be applied to all electronic signal manipulation in trying to achieve the best sonic results. Two original signals are more defined and represent purer signals that can then be manipulated, hopefully, without losing too much of the original energy.
Depth.
Depth is a bit tricky. There are three things to remember in terms of defining front-to-back placement. We need to remember that louder sounds always appear in our sound stage presentation to be closer. Brighter sounds or sounds that have more high frequency emphasize also sound closer because rays of energy which high frequency energy contains are numerous and expand and reflect off of numerous room surfaces. The use of less reverberation also means that sounds will be perceived closer and more present in our sound stage. The converse of all of these relationships is also true.
Level
When we are considering level, it’s so much easier to mix when you have an idea as to where something needs to live in terms of volume. Keeping in mind your front-to-back image while setting levels will make things fall into place very quickly. Knowing the distances and the relationships to each sound will quickly add up to a more detailed and balanced height, width, and depth relationship.
Tone
In terms of tone, high-frequency sounds to lose their energy faster than low frequency sounds over distance. As a general rule of thumb, you can roll off some highs to help shift things to the back. It should also be noted though that when sounds get very very close to us we tend to hear the low mid-range more predominantly as well. It is this range of energy where our emotional connectivity to the music lies. We must get this part correct in our mixes.
Reverberation
Reverberation is a whole subject unto itself, but, suffice to say that generally the more reverb a sound has the further back it will fall. carrying this thought process further, the shorter the pre-delay, the farther the element will seem. Reverb that is higher in late reflections rather than early reflections will also be indicative of a sound that is further away. Level, pre-delay, and early vs. late reflections, all work in conjunction to form a realistic spatial sound. Achieving a natural space at the recording stage is best. If you know you want your drums to sit back a bit, place the overheads a little further from the kit. And record the room capture from further away too.
Contrast
Sound contrast is like a bass line that is clear and well defined. It provides the foundation for the middle and high frequencies to ride upon. Contrast by definition implies that two things are different. they are in contrast to one another. One sound is farther upfront on the sound stage and one sound is farther back in the mix. Another word for this is spatial orientation. This is difficult to get right and takes a lot of knowledge in regards to your equipment and how to use it on different signal types. use compression to control shape, tone, and dynamics. This particular skill set is acquired over many years.
In Summary
So I hope that helps you. If you have any questions at any time I am always on hand to help answer them. Leave them in the comments section or email me at info@acousticfields.com. If you have not yet subscribed and would like to learn more about room acoustics please sign up for my free videos and ebook by joining the mailing list here. I send room tuning tips and things for you to test in your room every Wednesday. They are easy to follow and really help you enjoy more of your music.
Thanks and speak soon
Dennis

