Tim is the chief designer and builder for the “Living Roof” project. It is a life long dream and it was researched by Tim himself. I have asked him to walk through his thinking process on the project and give us incite to the thoughts behind the project. Here is his thought processes from start to finish in a three part series. This is his journey.
Project Beginning
When we bought this property over 20 years ago it had an early 40’s block home (1900 sq. ft.) on a walled-in double lot. Half of the 1/3 acre lot was undisturbed and had been the neighborhood ball field in a past life. We particularly liked this central Tucson location near the University and were impressed with its future potential.. We spent our first decade here addressing problems from roof replacement to ancient plumbing and used the side yard for my continuing experiments in home scale integrated aquaculture which I will address later in discussion of the various systems.
New Plan
While concentrating on the renovation of our aging home, previously divided into three small apartments, we had many short term projects going in the side yard, there was plenty of time to dream of more permanent uses, particularly adding an addition. The lot was zoned for a single family residence so we entertained many schemes as work continued on our home.
Wish List
My wish list for the lot began with a desire to harness some of the solar energy we have in over abundance here with as many solar panels as I could squeeze in. Another important goal was to be able to store a season’s worth of rainfall from our roof collection. We receive between 8” – 10” of rain yearly, much of it falling during the summer monsoon rains, in the Tucson, Sonora desert region.
Past Experience
I had discovered a dramatic new panorama while working on roof repairs. The mountains ringing the city, the drama of the sky, and the weather fronts drift through the valley as an easily accessible roof patio moved high on the list. Roof gardens were gaining attention in temperate climates and I became interested in how they might translate to this residential location. The tremendous benefits in insulation value, potential longevity, and the beauty of a desert garden along with certain acoustical benefits worked their way into the design formula.
Studio Space
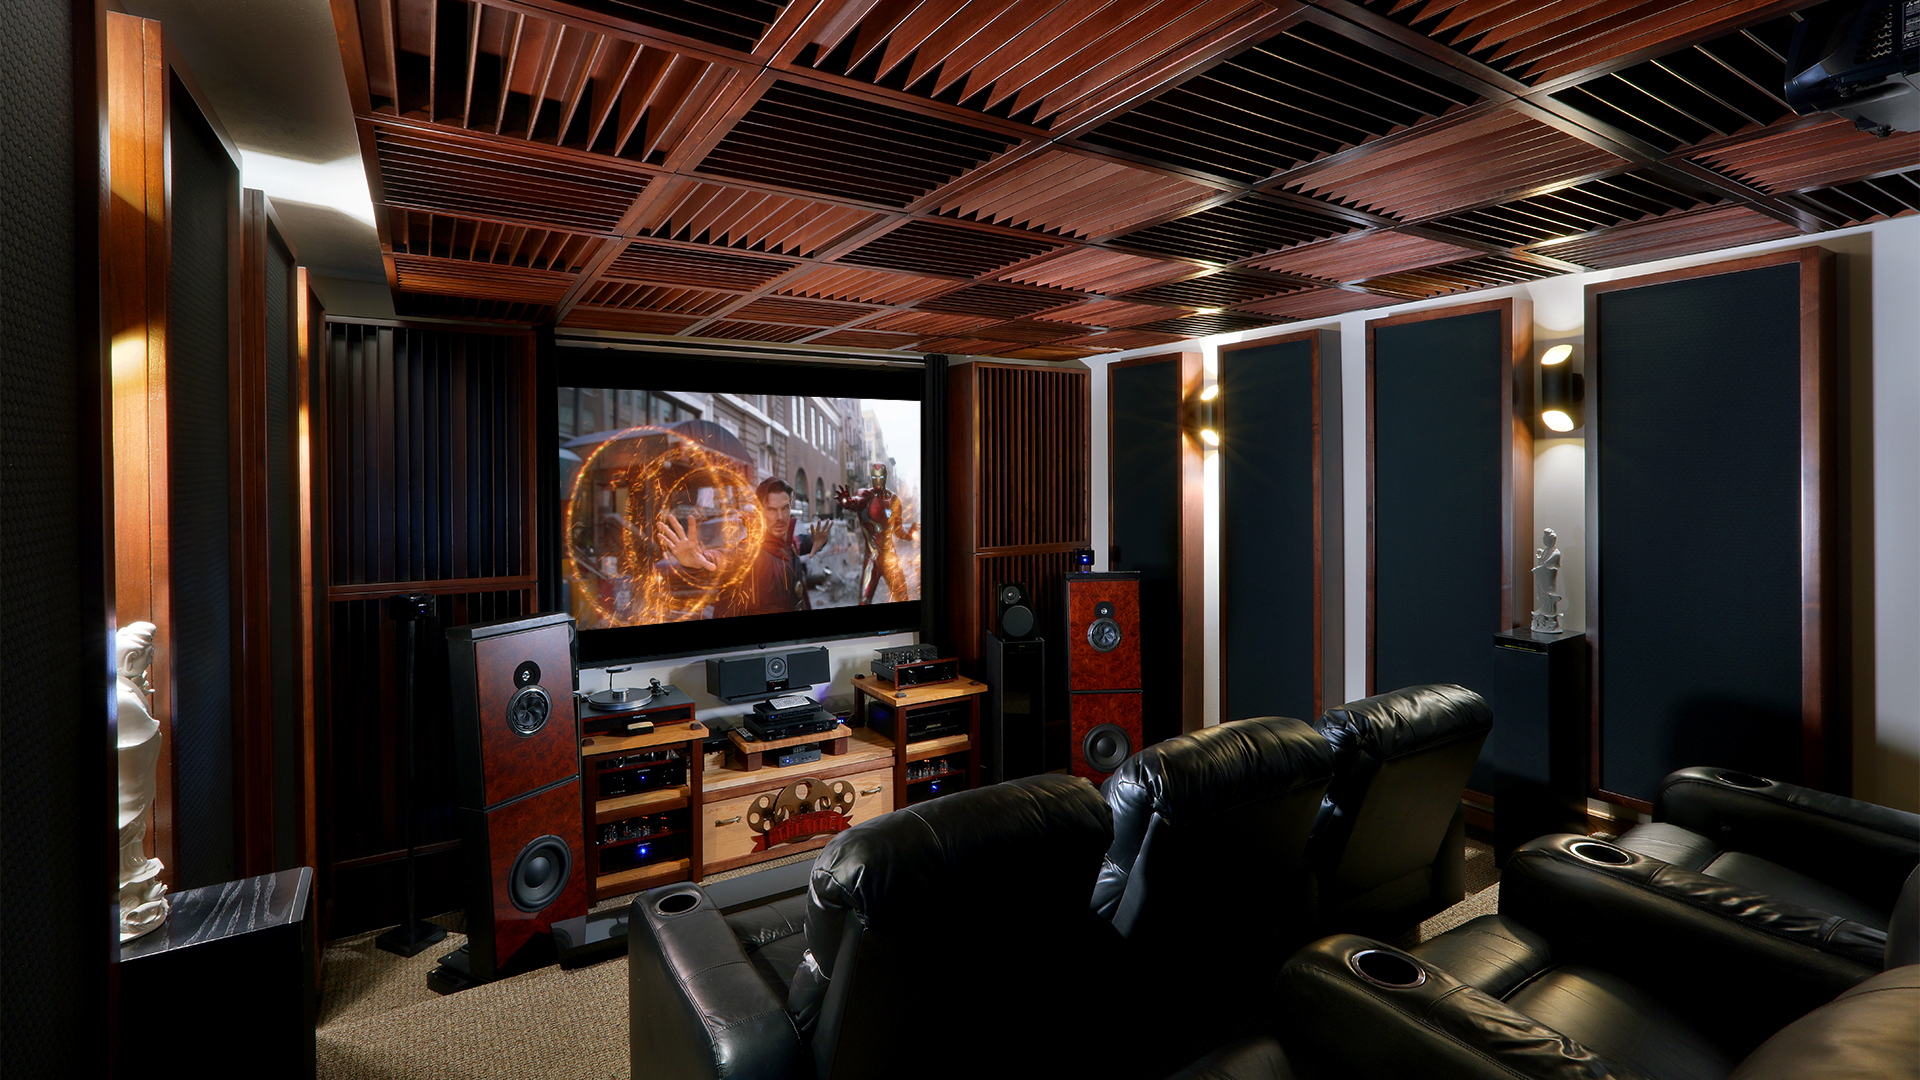
My wife needed dedicated studio space for her weaving, sewing, and glass projects along with room to expand into an outdoor patio area. We wanted to keep the Catalina Mountain views. On my list was a multipurpose space that would be flexible enough to include space for a Murphy bed with facilities for guests. Also a priority was to have adequate acoustics for a home theater setup with a projector and screen as well as a listening room, practice and recital space. We both wanted a secure garage with workshop area and storage. Maybe we can even have room for a pool table.
Serious Design 2004
The design process began in earnest in 2004 and many plans were scrapped before settling into the final configuration. Along the way, we had complications with the first architect who didn’t particularly “get” the roof garden and later a roof architect who had to change careers in the middle of the project due to lack of new business in the downturn. Constant personnel changes are never a welcome site.
Press Pause
These slowed us down, but did not stop us. This slower time became an opportunity to further research, rethink, and improve the design. Earlier designs were unfocused and elaborate compared to what finally resulted. The design became more essential and refined as we progressed. The building that resulted from our process is essentially two rooms: 30’ x 30’ and 20’ x 50’, in a 50’ square “L” shape.
Strong Steel
I wanted to employ steel I-Beams (Rolled Steel Joists) in the structure for both their span and aesthetics. Advice from a structural engineer was to specify standard lengths of 16” beams of 10’, 20’, and to 30’ as these were more commonly available for structure for both their span and aesthetics.
Original Plan
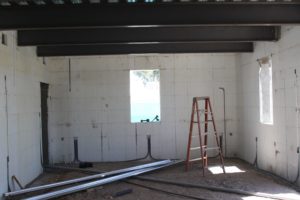
The original plan was to erect a steel post and beam structure with a super-insulated fill of straw bales or other such material. My architect, Bob Lanning, had experience with ICF blocks (concrete-filled foam blocks) suggested simplifying the design by specifying this material commonly used in commercial building. It had the benefits of high insulating/sound deadening values that I was seeking, while bearing the structure’s massive roof load.
Block Vs. Poured
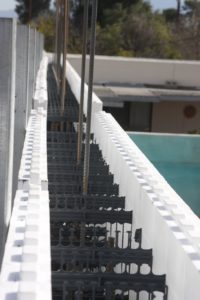
Amvic Block were originally specified but research led us to choose Fox Blocks, a later generation design that is used locally. In order to get the load bearing needs met we chose the 12” deep blocks, which are 4’ wide and 18” high. Our crew was inexperienced with this product but found it to be relatively trouble free to work with, although it took special bracing to support the rising walls.
Pipes
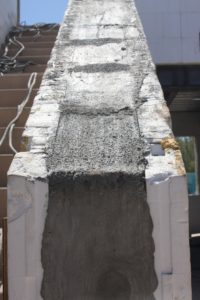
The massive amount of pipes routed through wall for vents, water electricity, as well as the massive rebarb ties and multiple cement pours (at least one more than the factory representative suggested as we were cautious) to reach the 16’+ parapet height slowed the otherwise very fast progress of the construction, without any complications.
Thermonuclear Radiation
During the construction the exposed foam structure was yellowed by the intensity of Tucson’s summer sun. Removal of the surface layer with a rasp prepared the surface for finishing. We specified an artificial plaster system called Dryvit. This product was chosen over traditional lime plaster due to the potential for cracking through the expansion and contraction of the foam substrate seasonally. Artificial plasters, known as EIFS, generally apply a polystyrene foam sheet under layer to the exterior wall, to which a mesh is glued, followed by the single layer application of the plaster.
Step Saving
We saved a step in the process by adhered the mesh substrate directly to the Fox Blocks and we had a wide variety of choices for color and texture of the final product, achieving a hard shell finish with application of a single coat. To the interior walls we had the traditional three coat plaster job applied with a very pleasing, handmade look, softening the unfinished, exposed I-beams. To balance the uniformity of the foam walls and the plastered surface we capped the parapets and stair case with rough cut flagstone pieces in several colors, matching the paving in the courtyard area to come later.
This is the completion of Part 1 of 3 parts. Please refer to Living Roof – 2 for the next sequence of thoughts and events. Living Roof – 3 is the final in this three part series.




If you know the frequency and amplitude of the reflection, you have a better chance of identifying sources.
Can the quality of a sound reflection identify the reflection source?
Use whatever floor type suits your usage. Carpet should have a carpet pad under the carpet. Hardwood floors should have…
Hello. This article mentions choosing a sound absorbing carpet and a pad. Could you please give examples of products? I…